
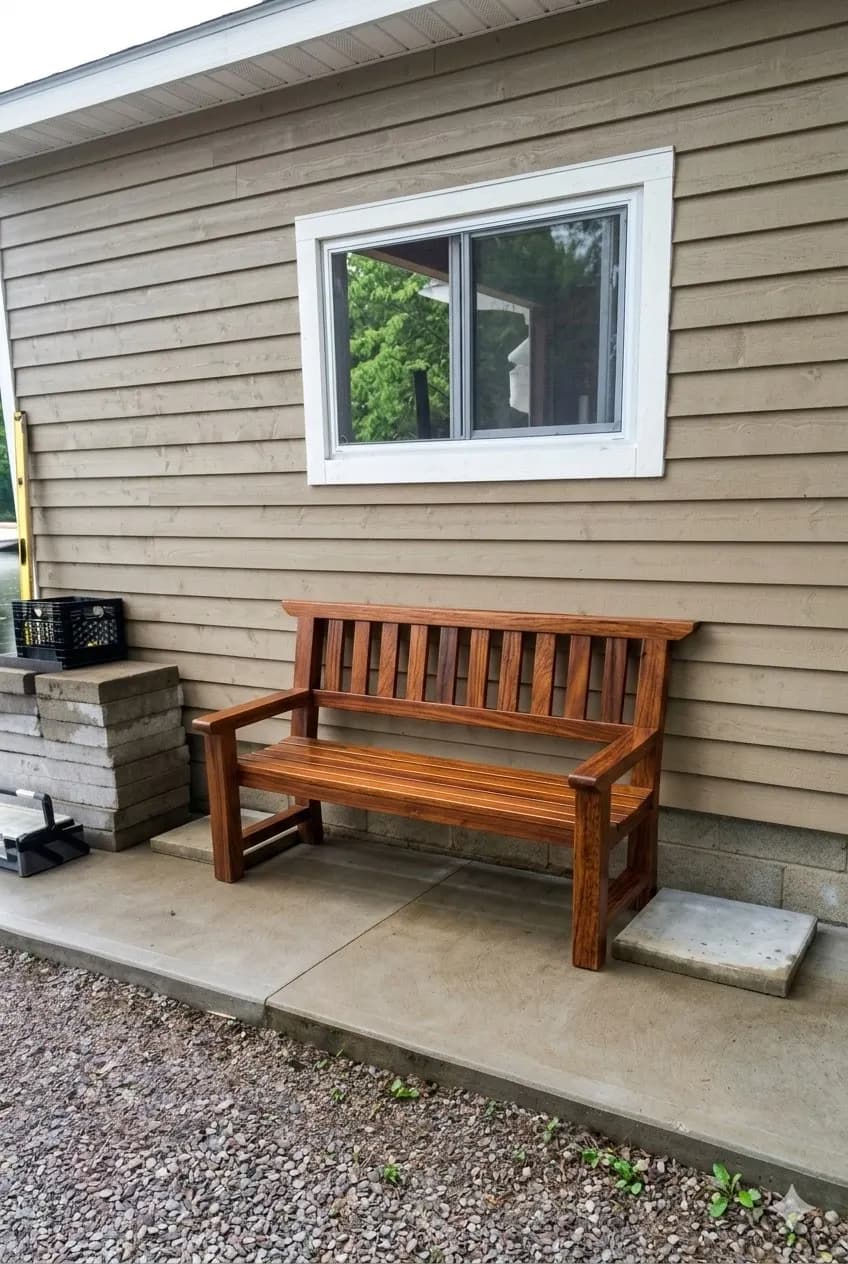
Zen Bench
Gentle curves, 72 invisible joints and not a screw in sight: a garden bench with a Japanese soul, made by you.
The Zen Bench: a torii for your garden.
A two-seater Japanese-style bench in solid wood. The curved top crest floats over the posts like a temple gate, the side rails trace a gentle curve and the backrest carries ten vertical slats. You won't see a single screw: every one hides under a plug of the same wood.
How you're going to do it.
Six stages and 72 joints that all have to line up. A project to savour, not to race through: the curved pieces alone clock up a good few hours.
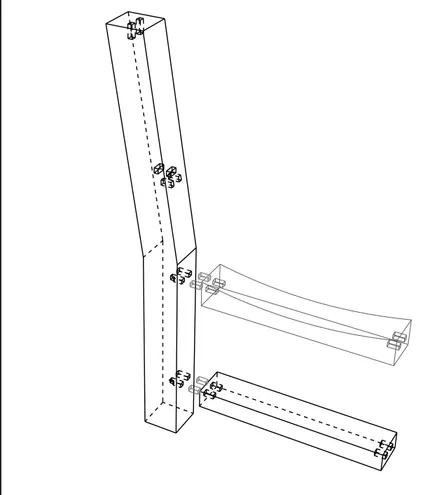
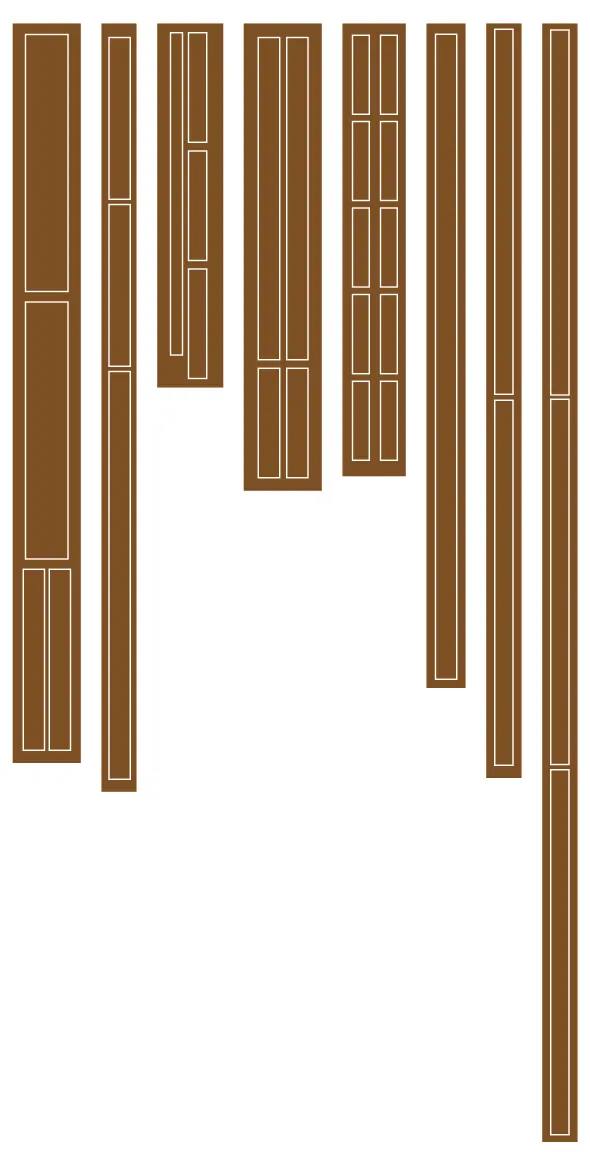
You start with the back legs: draw the piece, cut it on the bandsaw with a margin and finish the angle on the panel saw with a jig. The rest comes out of the boards following the cutting plan.
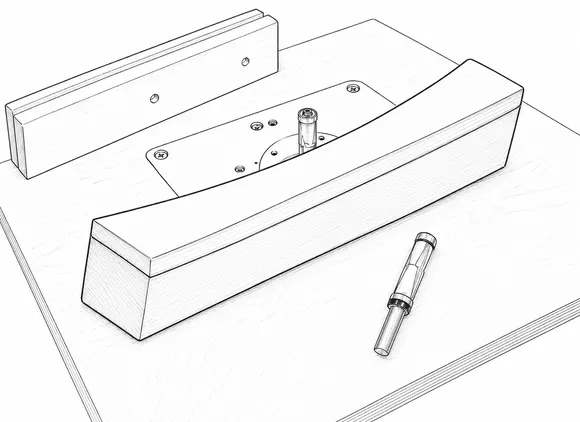
Armrests, rails and top crest all carry a curve: template, bandsaw and router with a copying bearing until every piece is identical to the template. The long piece is routed in sections.
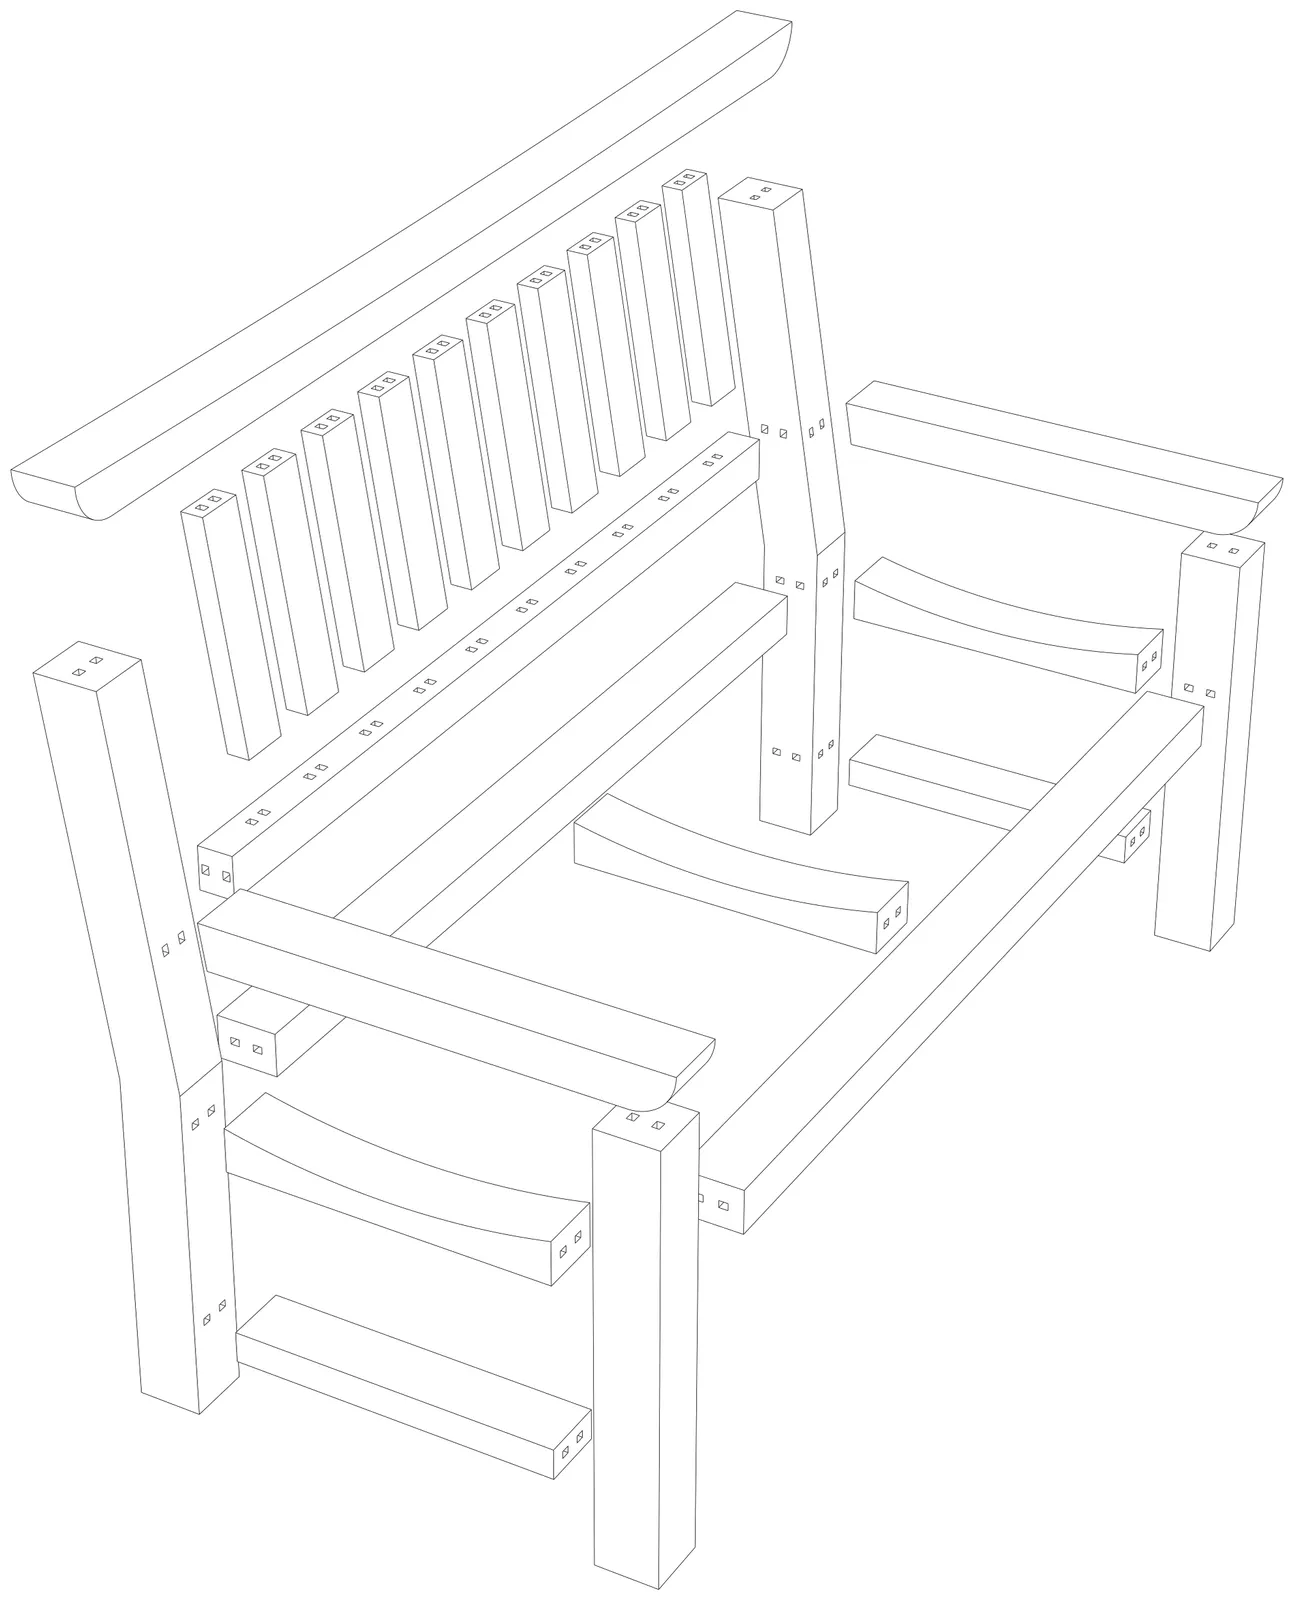
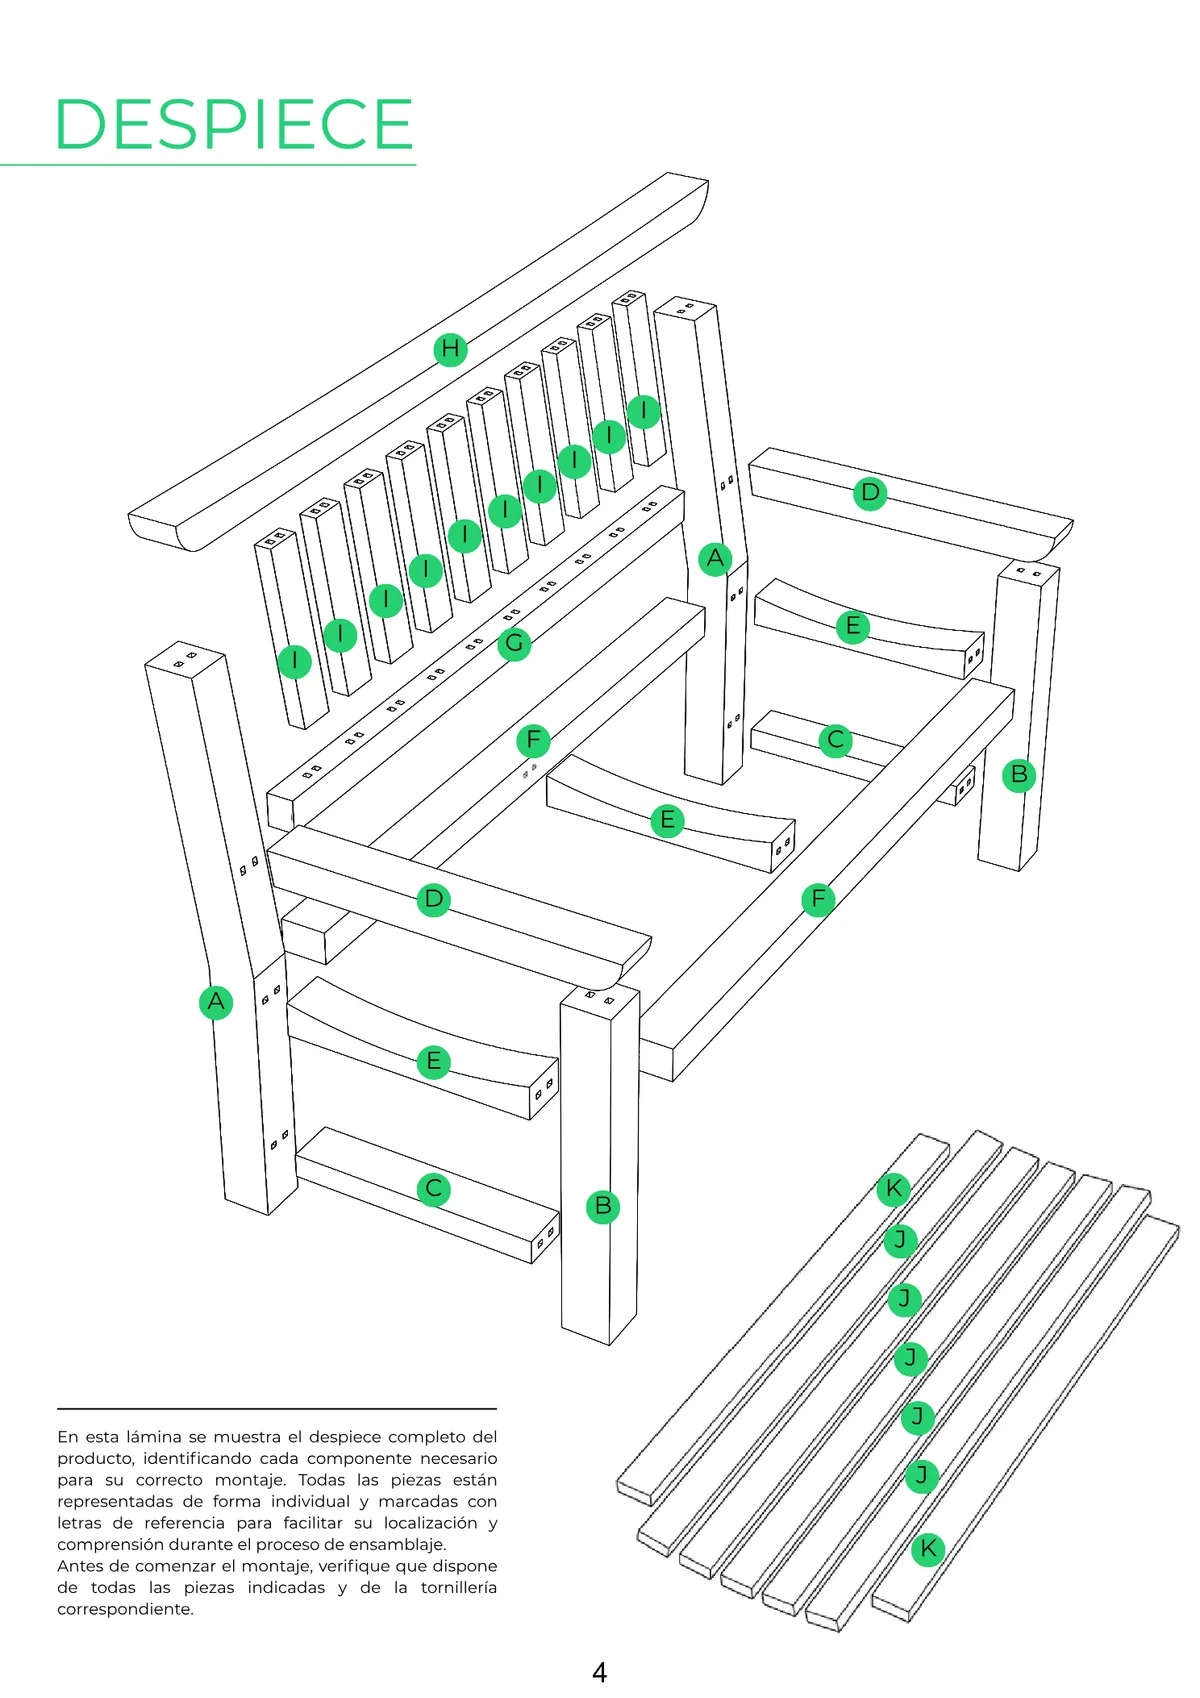
Pieces in their real positions, every slat numbered with its slot, and 72 mortises cut with the Festool Domino DF500 at 25 mm deep. Always mark with matching reference marks.
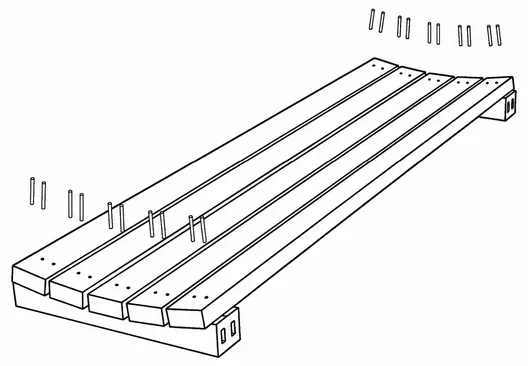
The whole bench without glue: side frames, backrest with its ten slats and the joint with the posts. Your safety net — this is where you catch any crooked joint while it can still be fixed.
100 mm screws in the structural joints and 40 mm in the seat, countersunk. Then you make your own plugs with the plug cutter, glue them in with the grain, flush and sand: the joint vanishes.
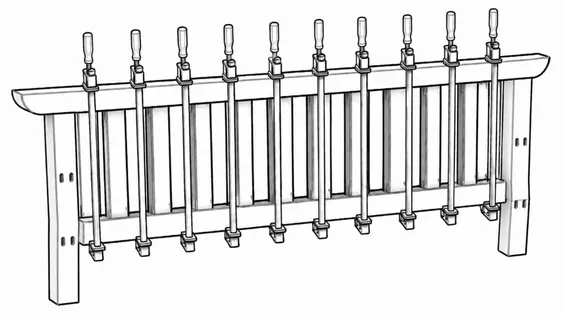
Glue-up in stages with clamps, sanding through grits 100, 120 and 180 and Rubio Monocoat DuroGrit oil: apply, let it work and wipe off along the grain.
What you're going to learn.
Template curves
Bandsaw to rough out and router with a guide bearing to trim each part accurately to the template, piece by piece.
72 invisible joints
Marking with matching reference marks and cutting with the Festool Domino DF500 — then dry-fitting everything before the glue comes out.
Concealed screws
Countersinking, screwing and capping with plugs you cut yourself with the plug cutter, until the joint disappears.
The result.
Before you even ask.
Can I do it if I've never worked with wood?
This project is level 4 out of 5: there are curves, angles and 72 joints that all have to line up. You don't need to be a professional, but it helps to have some earlier-level projects under your belt. If you're unsure about your level, ask us and we'll figure it out together.
How long will it take me?
The guide estimates around 60 hours of workshop time, at your own pace. This is a project to savour, not to race through.
Really — not a single visible screw?
That's one of the charms of this project: every screw sits in a countersunk recess that you then cap with a plug you make yourself from the same wood. Glued, flushed and sanded, it all but disappears.
Is it safe to use the machines?
No machine is used without first learning its safe technique, and protective equipment is compulsory. The guide flags which PPE you need at every step, and there's always a technician on hand to ask.
What wood will I be using?
Elondo, iroko or cedar: durable outdoor timbers chosen so the bench withstands years of use. You'll learn to prepare it from the rough board.
What does the price include?
The guide and the templates, the wood and all other materials, use of the machines, the PPE and your workshop hours. You go home with the finished bench.
If you need any adjustments to take part comfortably, tell us when you sign up and we'll have it ready.
Llévate solo la guía, en PDF.
La misma guía paso a paso que seguimos en el taller para construir «Zen Bench»: planos acotados, despiece, orden de montaje y los trucos de ebanista. Por 15 €, tuya para siempre — bueno, el enlace de descarga dura 30 días, así que no lo dejes criar polvo.
Start whenever you like. The clock doesn't tick until your first day.
Buy "Zen Bench" today and come to the workshop when you genuinely can: your access time starts the day of your first QR check-in, not the day you pay. You build with our machines, our wood, and the team close by to lend a hand.
- The wood and all the project materials
- The complete guide in PDF, yours from minute one
- Workshop access: 1 full month or 2 months of half-days — you choose, same price
- The workshop team close by whenever you need them
Fancy this project?
Leave us your details and we'll tell you how to get started: pace, places and everything that's included.
No noise, unsubscribe in one click. By subscribing you accept the privacy policy.