
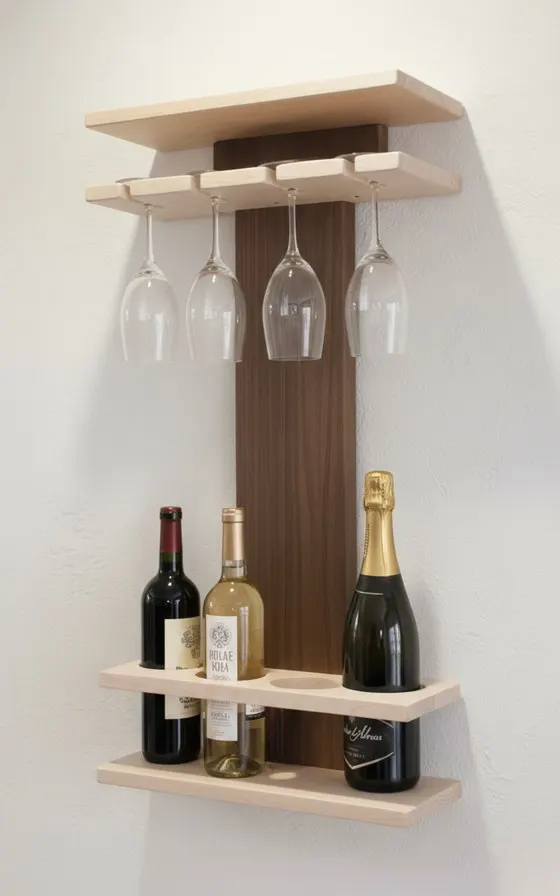
Wall-Mounted Wine Rack
Beech and walnut, Domino joinery and room for three bottles and four glasses. You don't leave with notes: you leave with your wine rack.
A wall-mounted wine rack, from rough timber to the final coat of oil.
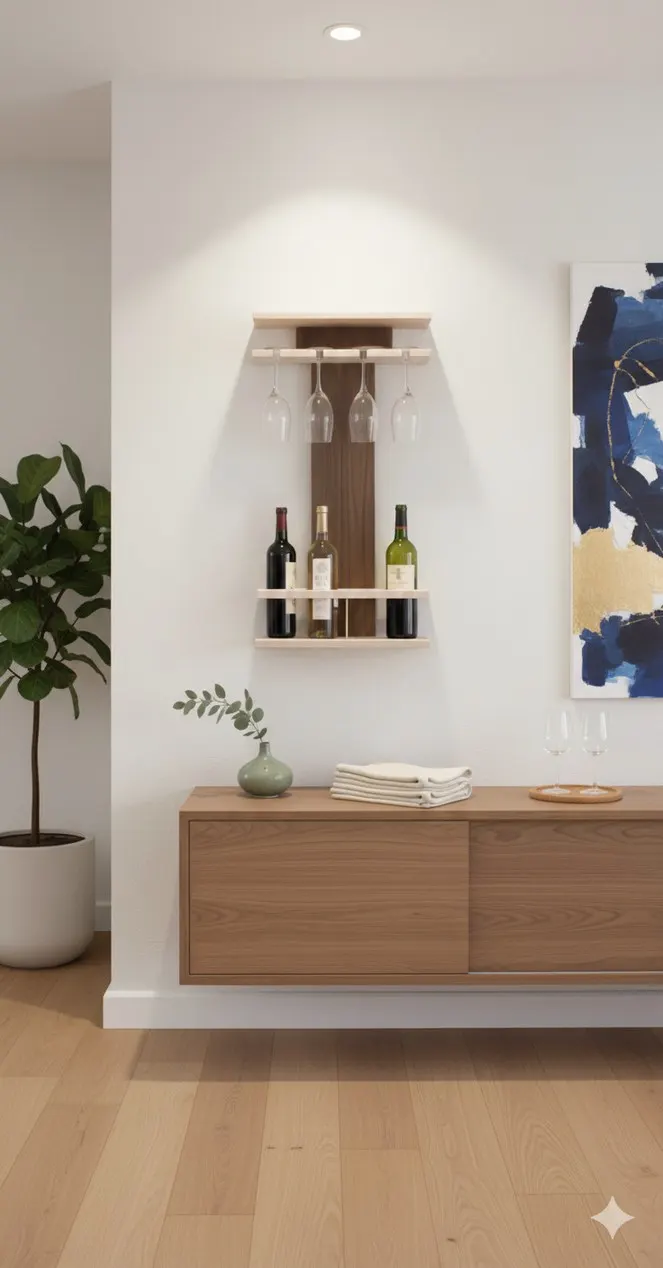
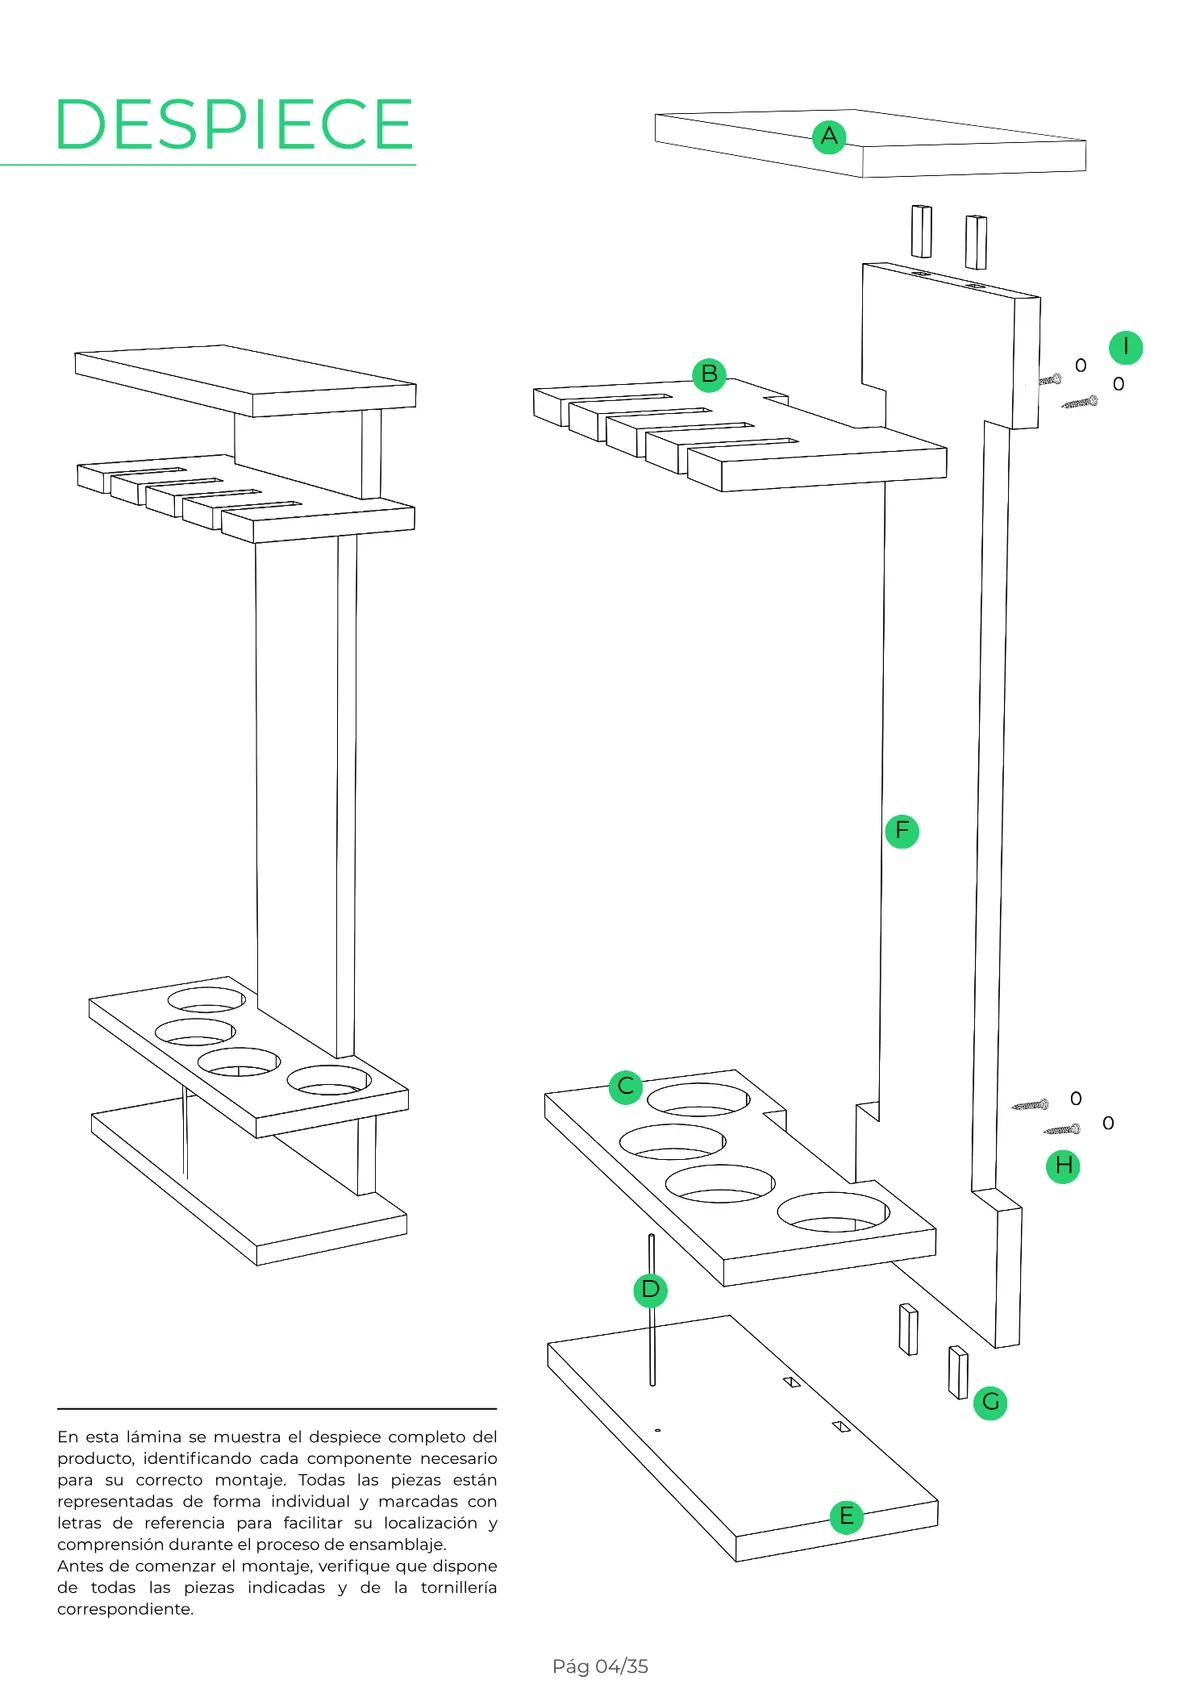
A wall-mounted wine rack with a central column in dark wood (nogal — walnut — or danta) and shelves in light wood (haya — beech — or arce — maple): a top shelf, a holder with slots to hang four glasses and a lower shelf with 90 mm holes to seat three bottles, finished off with a brass rod.
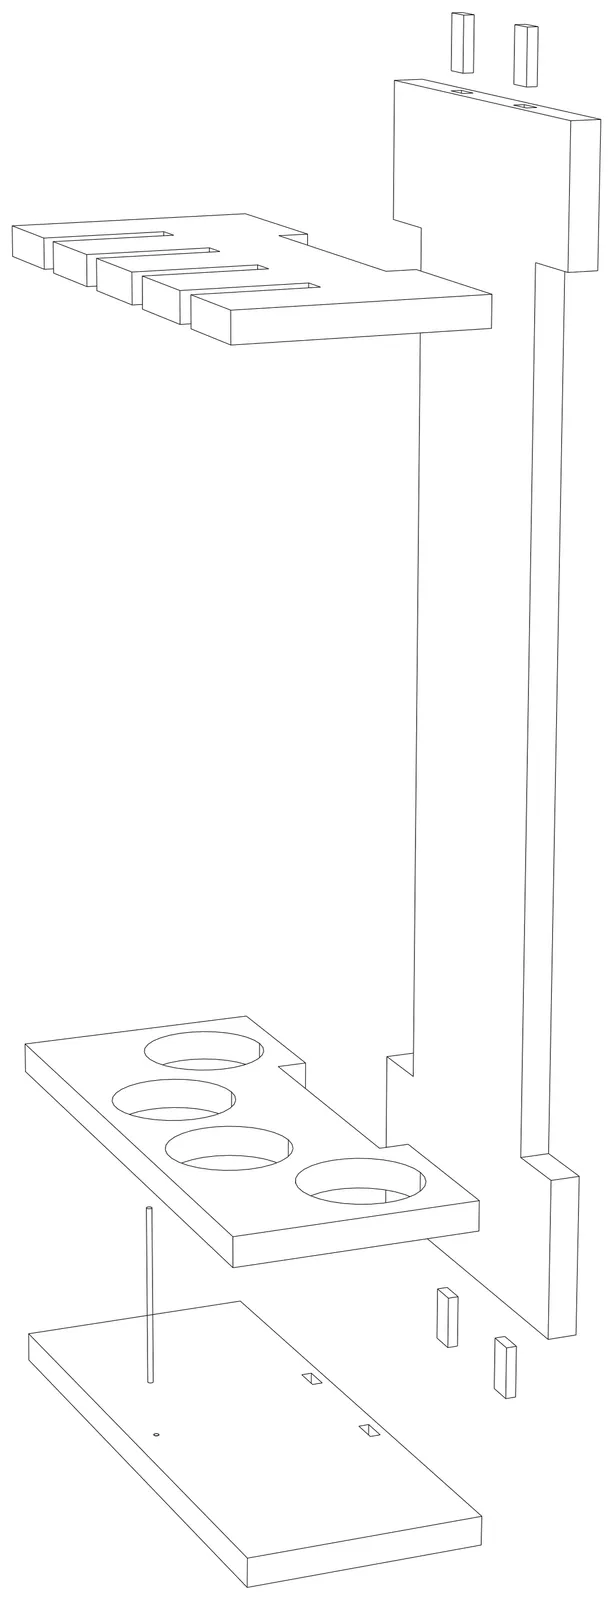
How you're going to do it.
Seven stages, from rough boards to the piece hanging on your wall. No fixings on show: Domino tenons, plugged screws and an oil finish.
You mark and cut the pieces oversized, steering clear of knots and cracks. And if your board doesn't reach the column's width, you learn to glue up boards to get there.
The structural backbone: you cut it to size on the panel saw, open the slots with the jigsaw and shape them with template and router, finishing the corners with a chisel.
7 mm stopped holes on the pillar drill for the brass rod, marked in pairs so they line up to the millimetre; then the slots that hug the column and the 90 mm bottle holes.
With the Domino joiner you prepare the hidden joints between the column and the shelves: the joint you never see but that holds it all together.
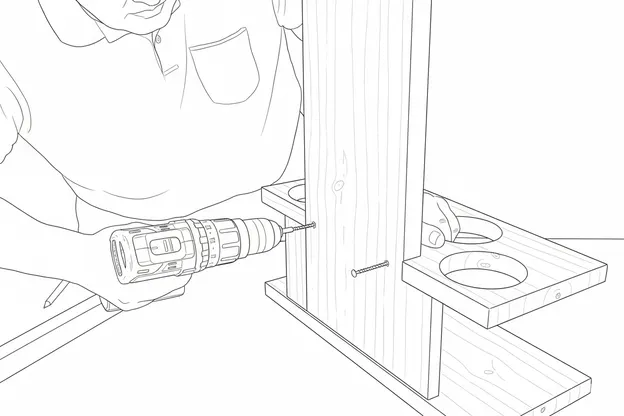
You glue the Dominos, join the shelves to the column and seat the brass rod in its hole. Clamps on, and a minimum of 4 hours' drying.
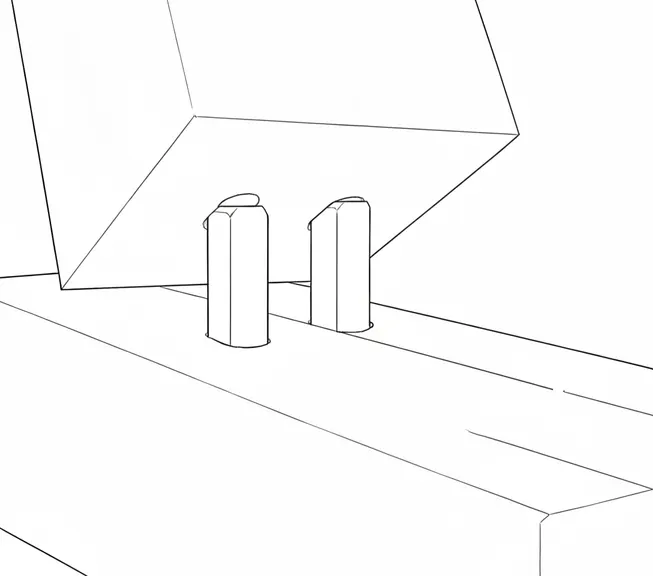
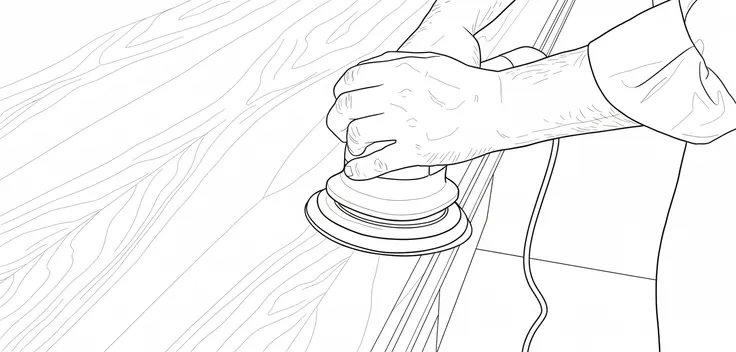
You fix the shelves with countersunk screws and make them vanish: glued haya (beech) plugs, a gentle tap and a hand sanding until the seam is invisible.
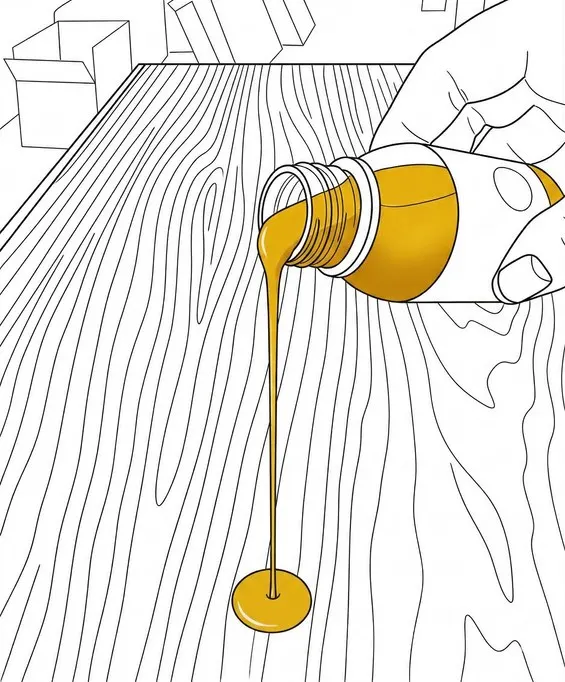
Grits 100, 120 and 180 and Rubio Monocoat oil: it soaks into the fibre rather than forming a film. Spread it, let it work and wipe off along the grain.
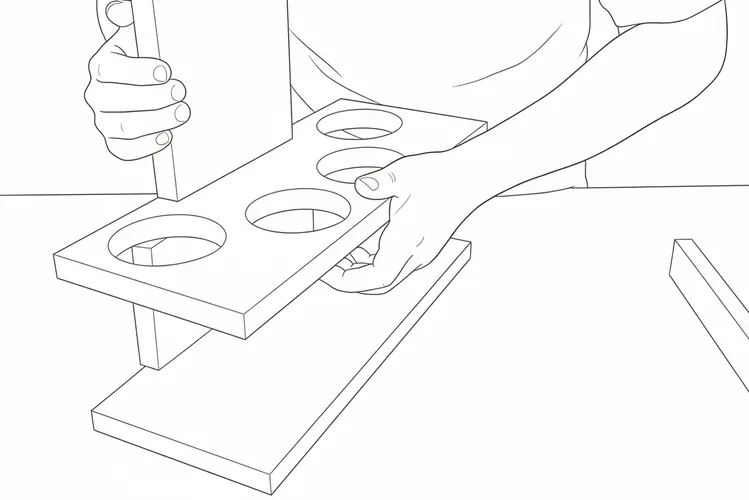
What you're going to learn.
Smart stock breakdown
Marking out, oversizing and reading the grain; cutting to size on the panel saw while respecting the safety margins.
Machine-level precision
Copying shapes with a template and bearing-guided router, and drilling to the millimetre on the pillar drill.
Joints you'll never see
Hidden Dominos, screws capped with wooden plugs and a three-grit sanding before the oil goes on.
The result.
Before you even ask.
Do I need previous experience?
No. It's a basic-difficulty project (level 1 of 5), designed as a first piece of furniture. The guide explains every machine step by step and the Made de Madera technician is in the workshop for any question.
How long will it take me?
The guide estimates around 30 hours of workshop time. You work at your own pace: come whenever you like and pick up where you left off.
Is it safe to use the machines?
Every process lists the compulsory PPE, and no machine is used without first learning its safe cutting technique. The warnings are flagged in the guide itself, step by step.
What wood will I use?
Shelves in haya (beech) or arce (maple) and a column in nogal (walnut) or danta: fine hardwoods for cabinetmaking. The light-dark contrast is part of the design.
What if my board isn't wide enough?
The column needs a rectangle of 760 × 290 mm. If you don't have a board that wide, the guide itself covers the panel glue-up process so you can make one yourself.
What does the price include?
The guide, the materials, the tools, the safety equipment and as much workshop time as you need. And you carry it home when you're done.
If you need any adjustments to take part comfortably, tell us when you sign up and we'll have it ready.
Llévate solo la guía, en PDF.
La misma guía paso a paso que seguimos en el taller para construir «Wall-Mounted Wine Rack»: planos acotados, despiece, orden de montaje y los trucos de ebanista. Por 15 €, tuya para siempre — bueno, el enlace de descarga dura 30 días, así que no lo dejes criar polvo.
Start whenever you like. The clock doesn't tick until your first day.
Buy "Wall-Mounted Wine Rack" today and come to the workshop when you genuinely can: your access time starts the day of your first QR check-in, not the day you pay. You build with our machines, our wood, and the team close by to lend a hand.
- The wood and all the project materials
- The complete guide in PDF, yours from minute one
- Workshop access: 1 full month or 2 months of half-days — you choose, same price
- The workshop team close by whenever you need them
Fancy this project?
Leave us your details and we'll tell you how to get started: pace, places and everything that's included.
No noise, unsubscribe in one click. By subscribing you accept the privacy policy.