
Chest of Drawers
Hand-cut dovetails, 45° mitres and 1.20 metres of solid wood you take home. The most demanding project in the workshop.
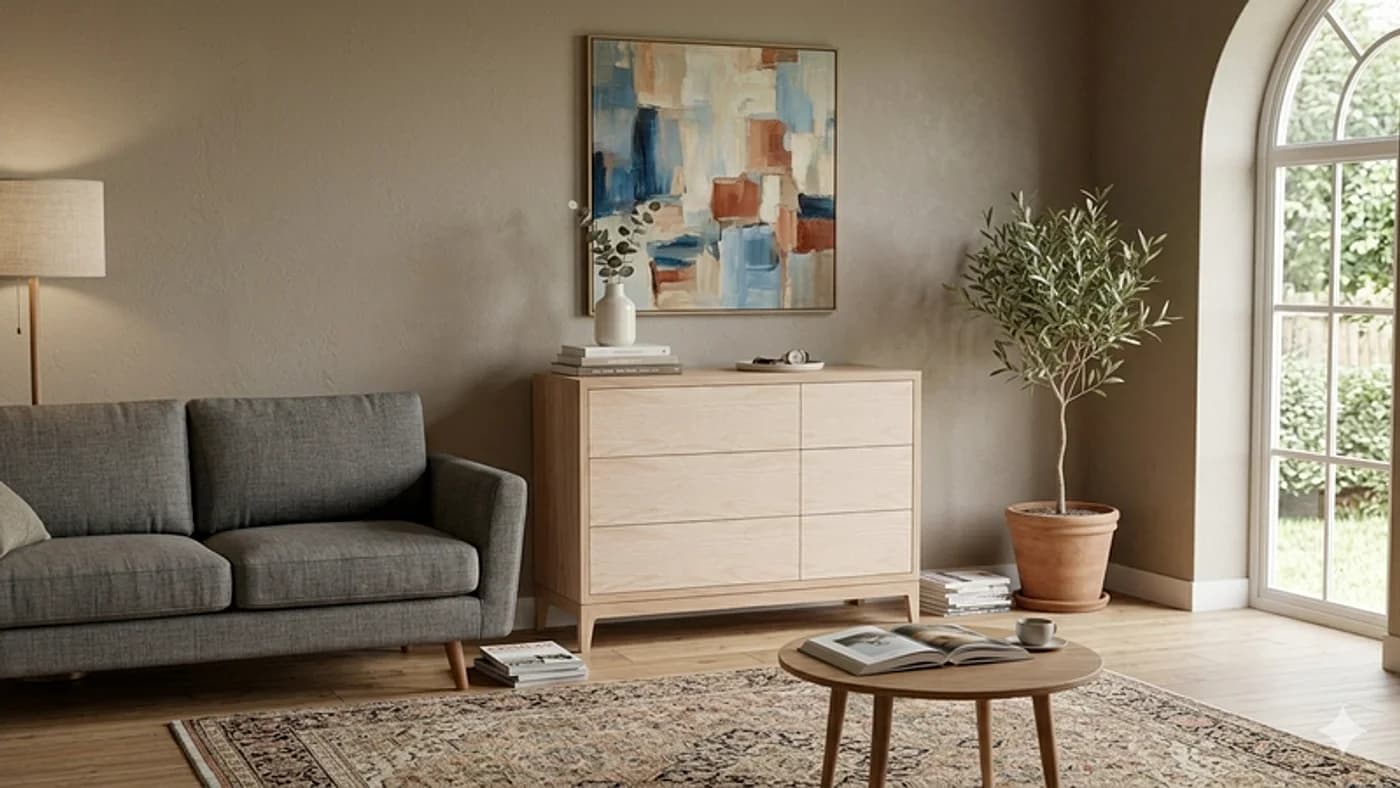
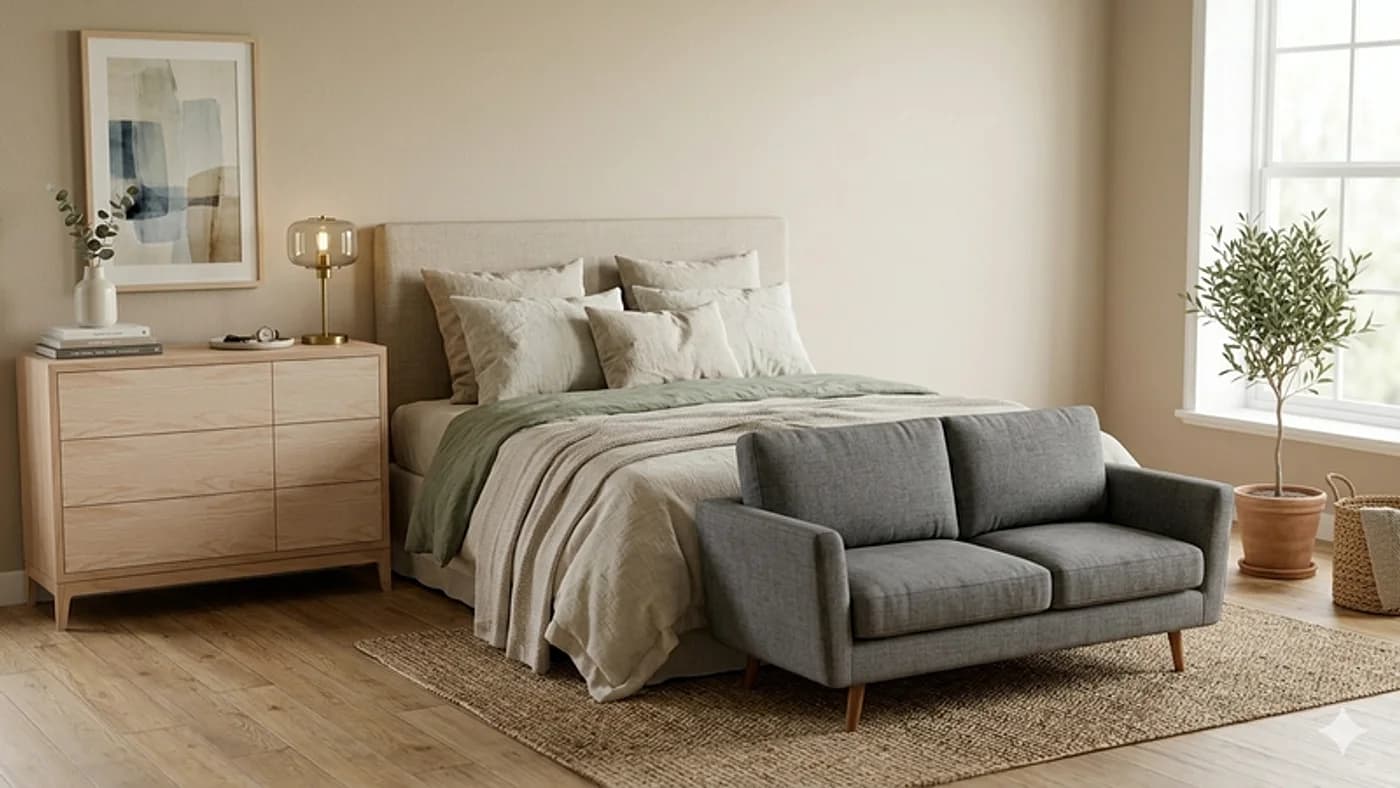
 The finished piece
A complete chest of drawers, from zero to finish.
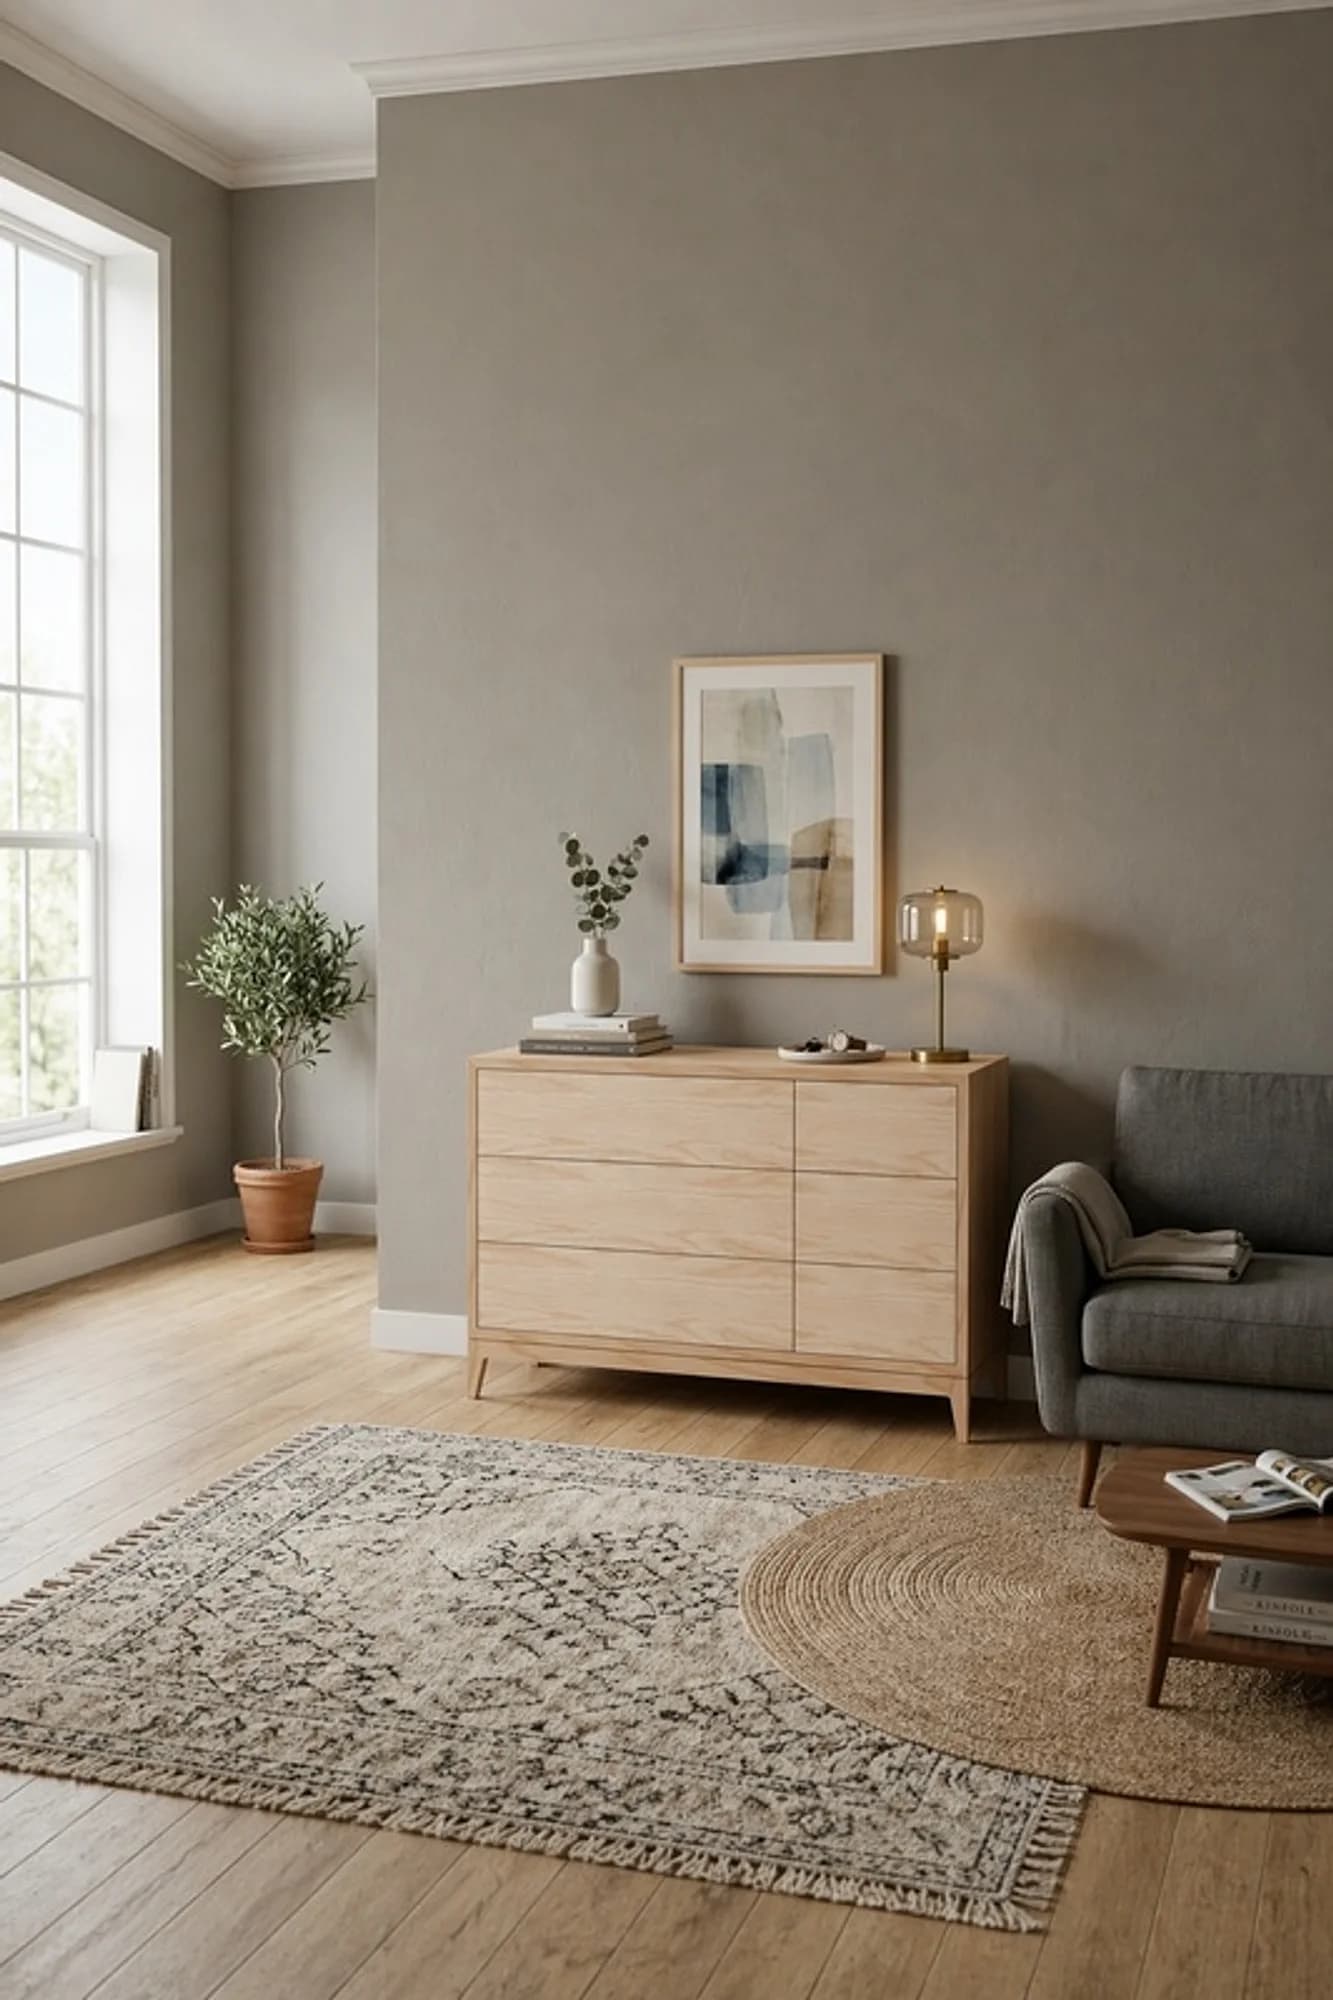
The last step of the itinerary. Recommended after the earlier levels.
At your own pace. The guide gives the indicative time.
From rough timber to the assembled, finished chest.
Plus 45° mitres, template-routed legs and fine drawer fitting.
A guide that takes you by the hand, step by step.
Every phase of the project is explained on pages like this one: what you're going to do, how long it takes, what protection you need and where it usually goes wrong. You're never left wondering what's next.
 Duración:
30min



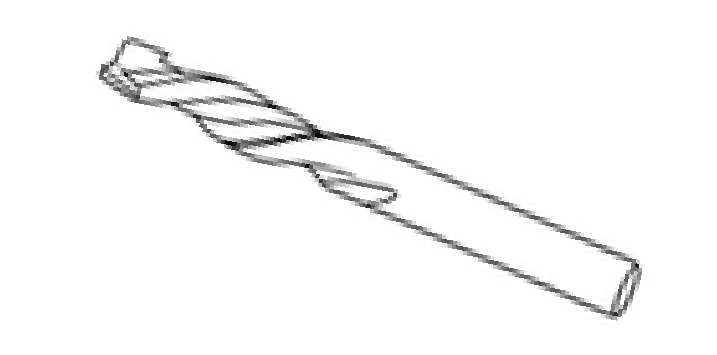
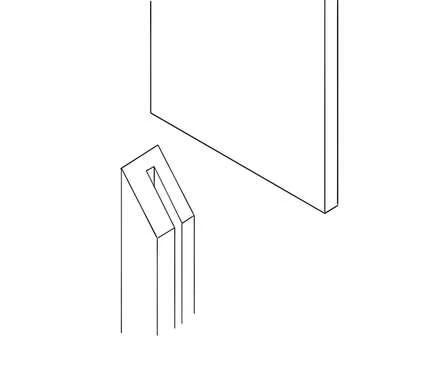
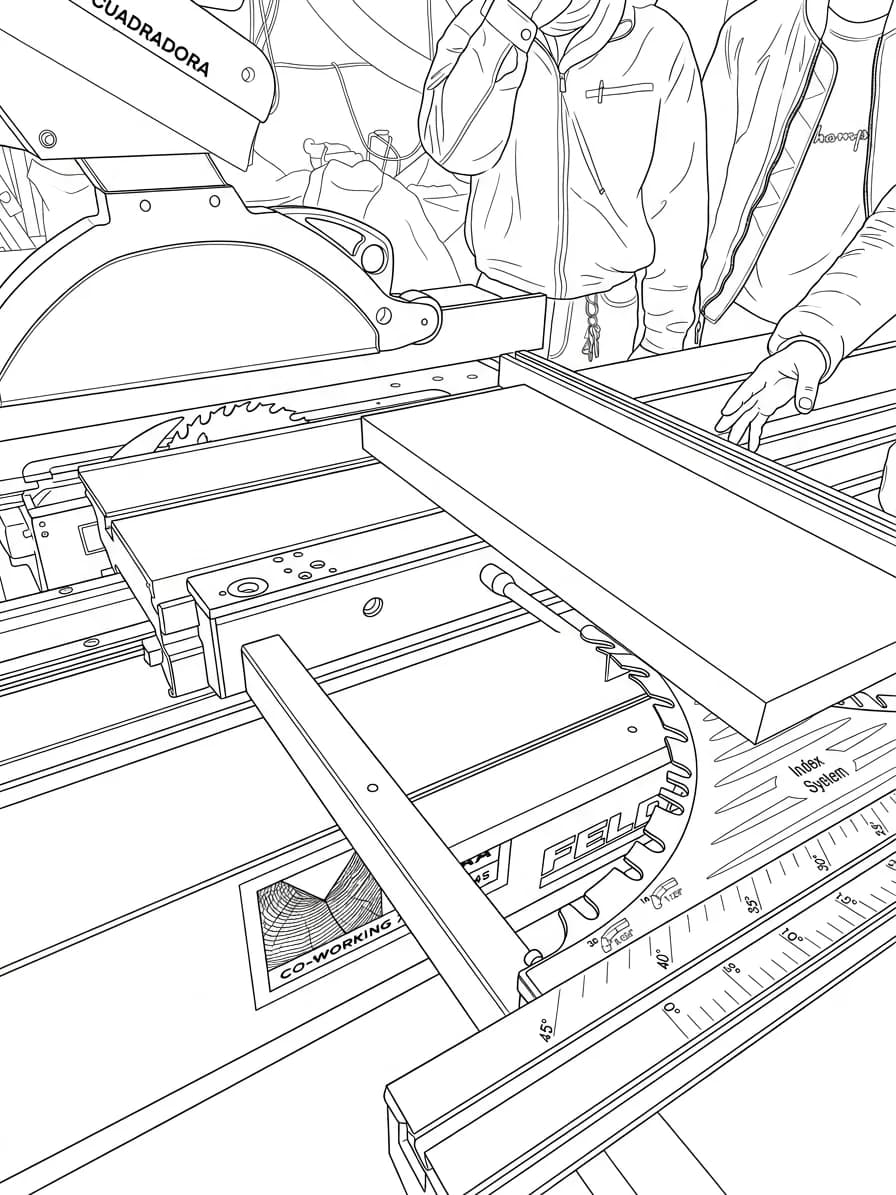
Para finalizar con la estructura exterior se debe realizar un rail para incorporar el fondo de la estructura. Esta plancha que hará de fondo es de DM de 6 mm Esta operación se realizará en las 4 piezas que conforman la estructura (laterales, base y top). Hay que tener en cuenta a la hora de ensamblar las piezas que el top es la ultima pieza que se debe ensamblar de la estructura. Se usará una fresa de 6,3mm
 1Every step, illustrated
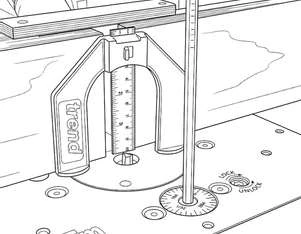
Se determina la altura a la que se alojará el fondo del cajón. Para determinar la altura de la fresa se gira con una llave el disco situado enfrente hasta que la fresa toque con la regla, donde previamente hemos tenido que colocar la altura a la que queremos la fresa
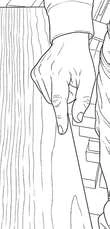
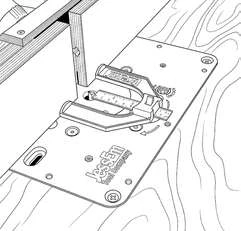
El siguiente paso es ver a que distancia del borde se realiza el fresado. Nos ayudamos de la regla que hemos estado usando en el paso anterior para determinar la distancia, a la hora de medir la distancia tambien hay que tener en cuenta el diametro de la fresa una vez con la distancia conseguida se regula y se posiciona la guia paralela.
 3
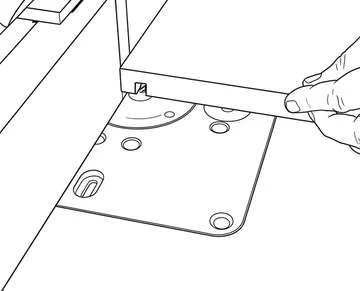
Cada pieza se posiciona firmemente contra la guia de la máquina, manteniendo siempre la misma cara de referencia para asegurar la uniformidad en todas las ranuras. Se realiza el avance de forma continua y controlada.
Una vez mecanizadas todas las piezas, se comprueba el encaje del fondo del cajón introduciendo el tablero en las ranuras. El fondo debe deslizar correctamente dentro del rail. En caso necesario, se realizan pequeños ajustes.
How it goes together, step by step.
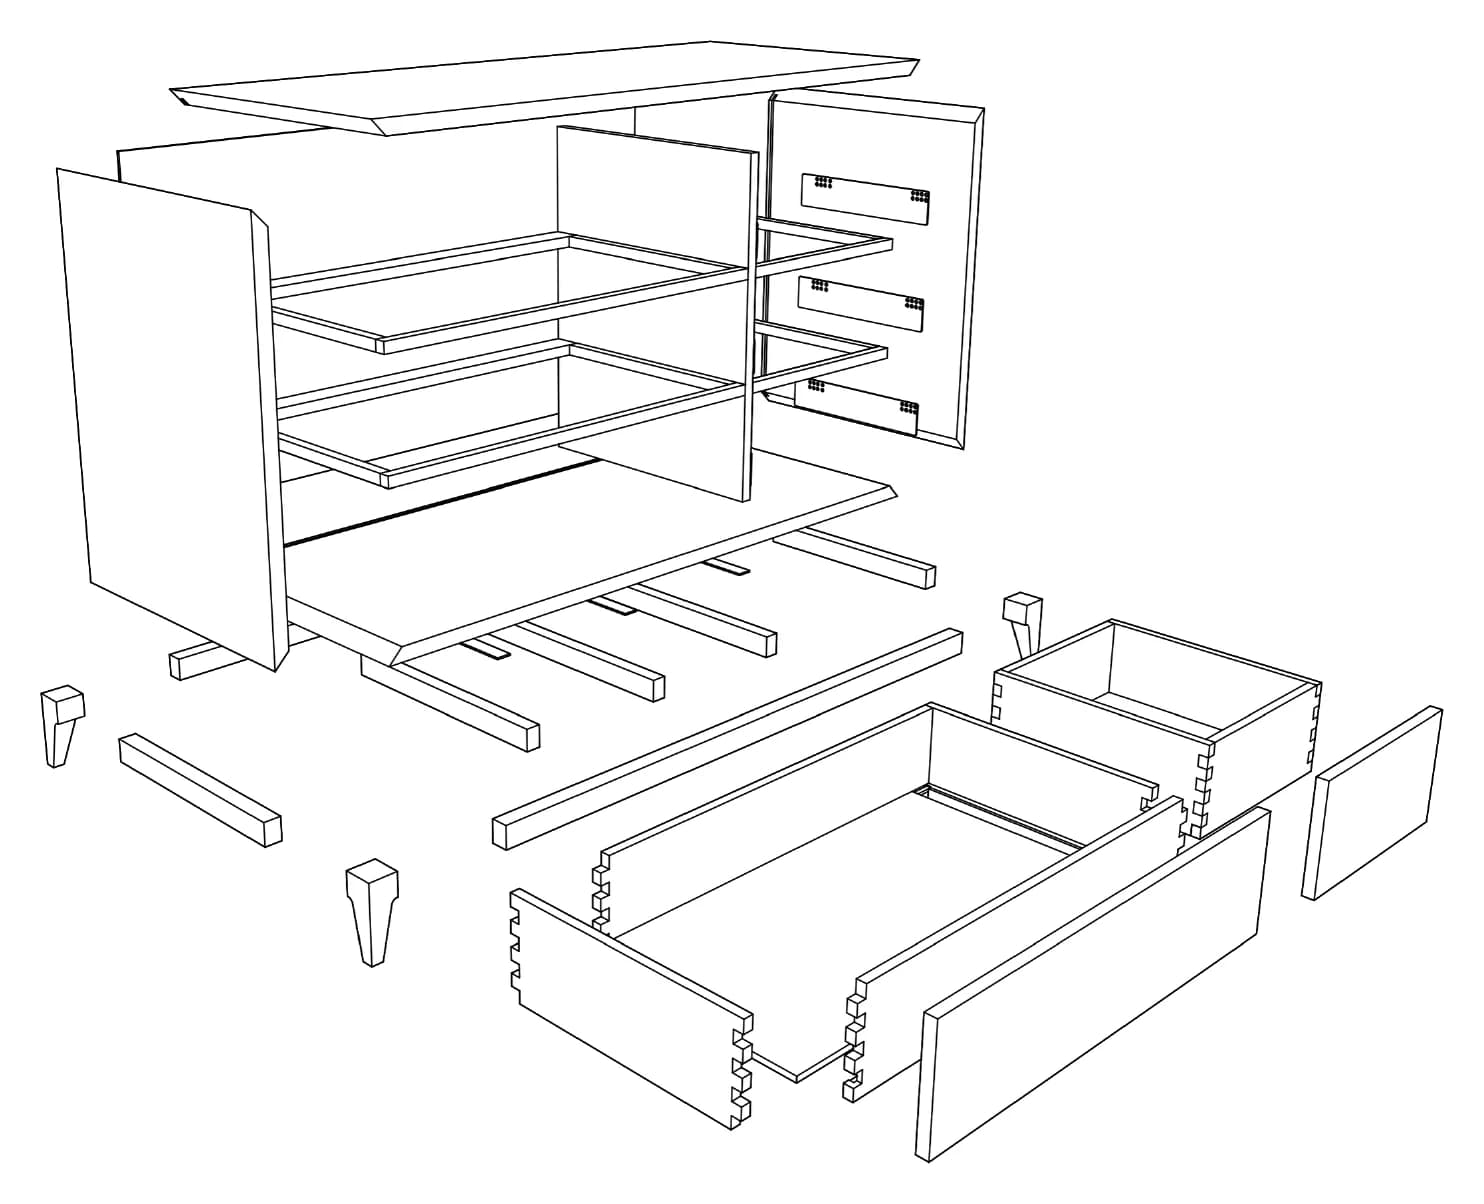
Cutting list with extra allowance, strips glued up with alternating grain and clamped until cured. Jointer and thicknesser to leave the sides, top and base flat, parallel and to size.
You make a 10 mm MDF template with the exact shape of the leg and use it to rout all four identical pieces, always working with the grain.
Rails cut to final size, joints marked out, domino mortises routed. Glue up, check for square and screw the reinforcements in from below.
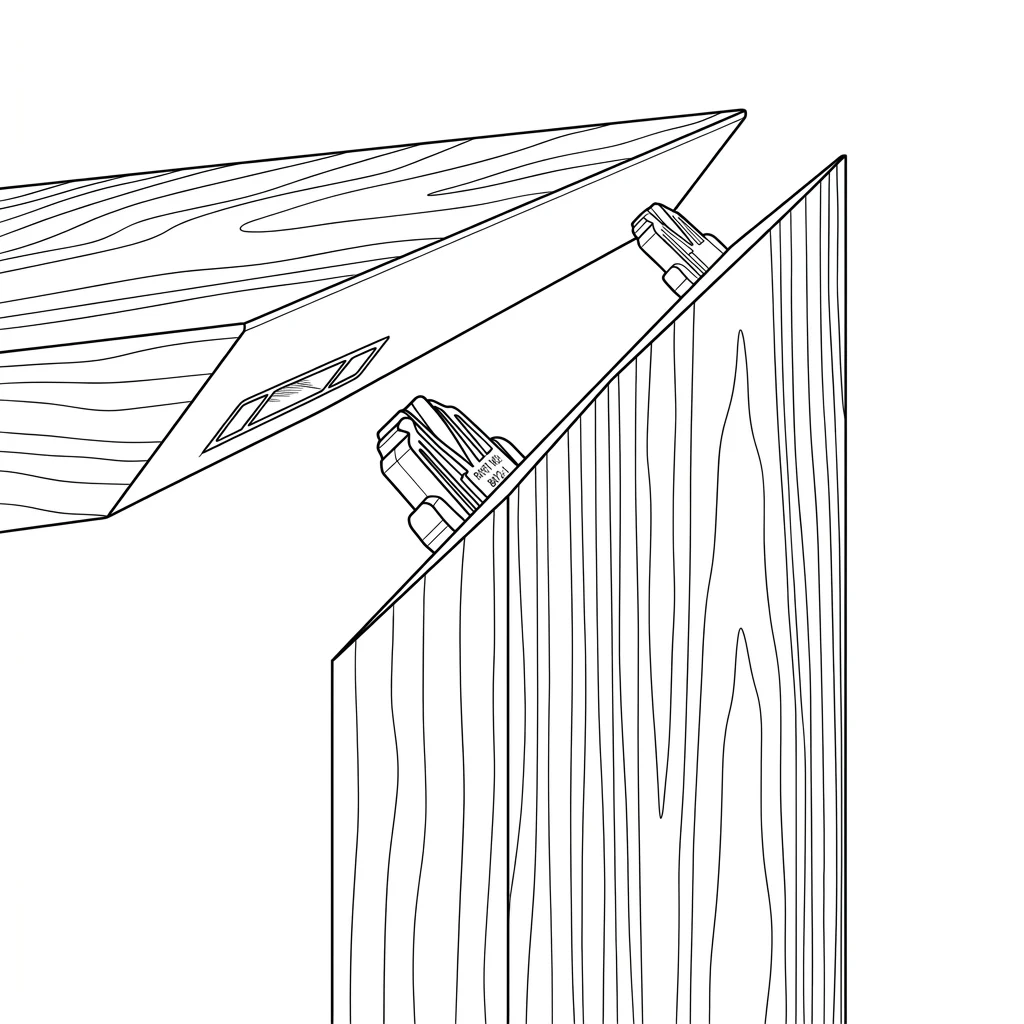
Sliding table saw blade tilted to 45° so the top, base and sides close on a clean edge with no end grain showing. The mitres are joined with Lamello Tenso P connectors: two biscuits per edge, no clamps needed.
You mark with a knife, saw to within 2 mm of the line and define the sockets with a chisel and brass mallet. Six drawers joined with traditional hand-cut dovetails.
Base, panels, central divider, runners, back and top; the two halves joined and the drawers gliding. A good sanding, Rubio Monocoat oil, and home it goes.
Tools, materials and techniques.
At your own pace. You take the guide and the materials kit, and book your workshop time whenever suits you. No fixed dates, no groups.
Not sure it's your level? See the full itinerary.
Start whenever you like. The clock doesn't tick until your first day.
Buy "Chest of Drawers" today and come to the workshop when you genuinely can: your access time starts the day of your first QR check-in, not the day you pay. You build with our machines, our wood, and the team close by to lend a hand.
- The wood and all the project materials
- The complete guide in PDF, yours from minute one
- Workshop access: 1 full month or 2 months of half-days — you choose, same price
- The workshop team close by whenever you need them
Llévate solo la guía, en PDF.
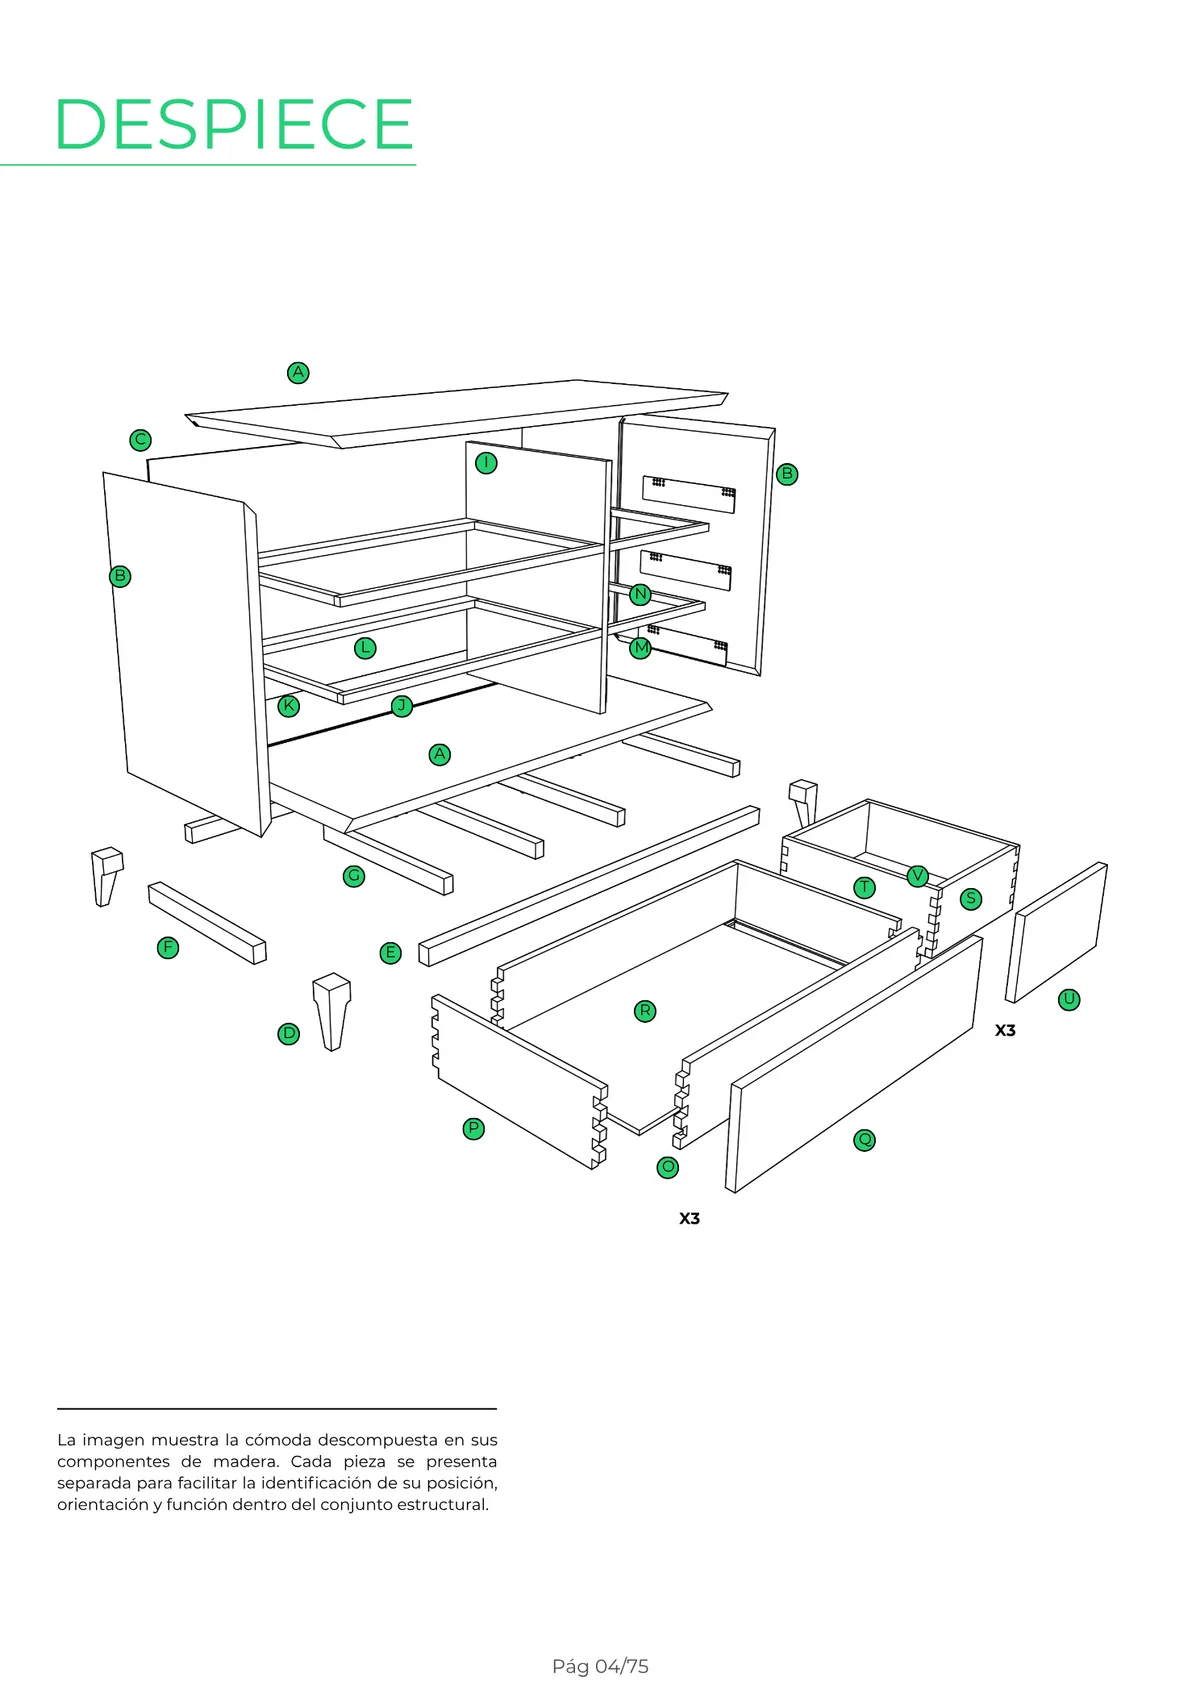
La misma guía paso a paso que seguimos en el taller para construir «Chest of Drawers»: planos acotados, despiece, orden de montaje y los trucos de ebanista. Por 15 €, tuya para siempre — bueno, el enlace de descarga dura 30 días, así que no lo dejes criar polvo.
Before you even ask.
Do I need a lot of experience?
This is the most demanding project on the scale: difficulty 5 out of 5, which the guide calls «Professional». It's best to arrive with previous workshop projects under your belt. No machine is ever used without its safe technique covered first.
Are the dovetails really cut by hand?
Yes: they're marked with a knife, cut with a handsaw and finished with a chisel and brass mallet. The guide recommends practising on a test piece first.
How long will it take me?
The guide estimates around 20 hours of work, spread over sessions. You come to the workshop at your own pace and nobody rushes you.
Is it safe to work with these machines?
Safety comes first: safety glasses and footwear are compulsory, with hearing protection and an FFP2 mask where needed. The guide flags the PPE for each process in red.
Do I take the chest home?
Of course — that's the whole point: you don't leave with notes, you leave with a piece of furniture. Just one thing: it's 1.20 m long and weighs about 56 kg, so give some thought to how you'll get it home.
What does the price include?
Everything you need: the guide, the materials, the tools, the PPE and the workshop time. You bring the hands.
If you need any adjustments to take part comfortably, tell us when you sign up and we'll have it ready.