
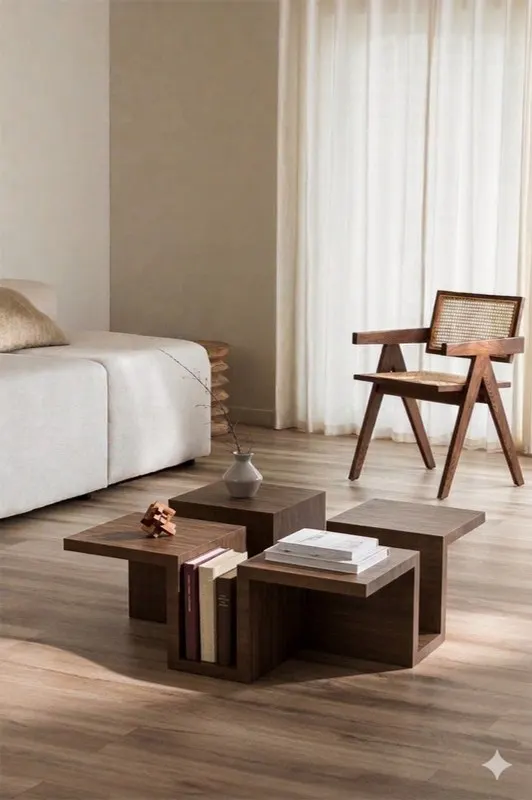
«Tetra» Coffee Table
45° mitres, invisible joints and real walnut veneer. Four cubes that fit together like a puzzle: your coffee table.
The «Tetra»: 16 pieces, 4 cubes, not a screw in sight.
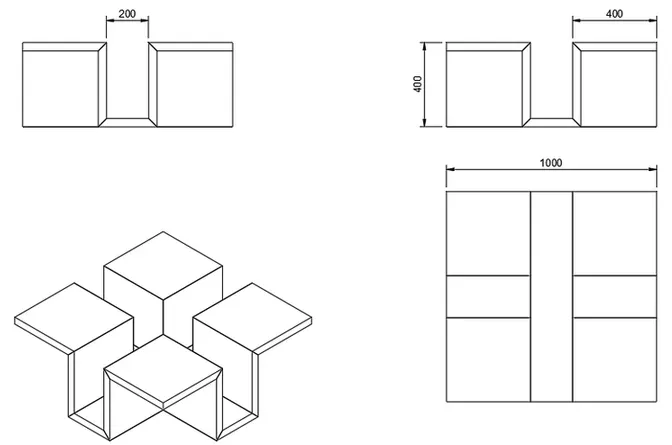
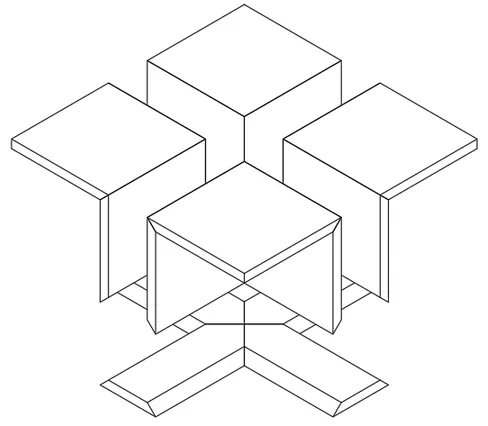
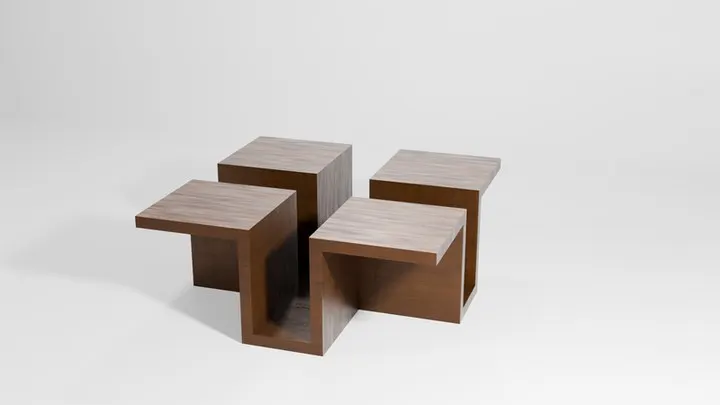
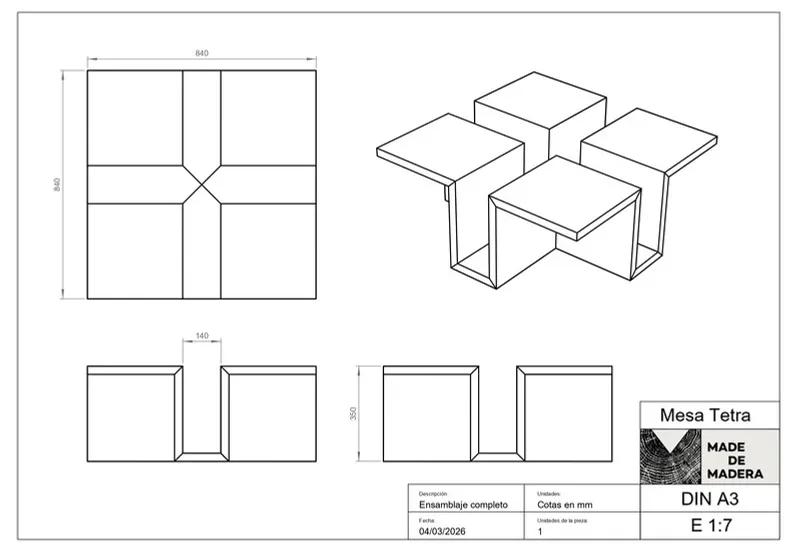
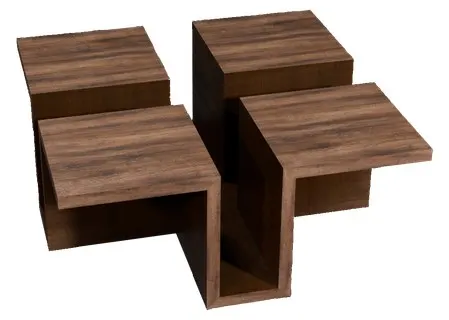
A geometric coffee table made up of 16 pieces in four component types, forming four cubic modules on a cross-shaped base. Every joint is made with Lamello connectors, which glue up under pressure — no clamps, no presses and not a single screw in sight.
How you'll make it.
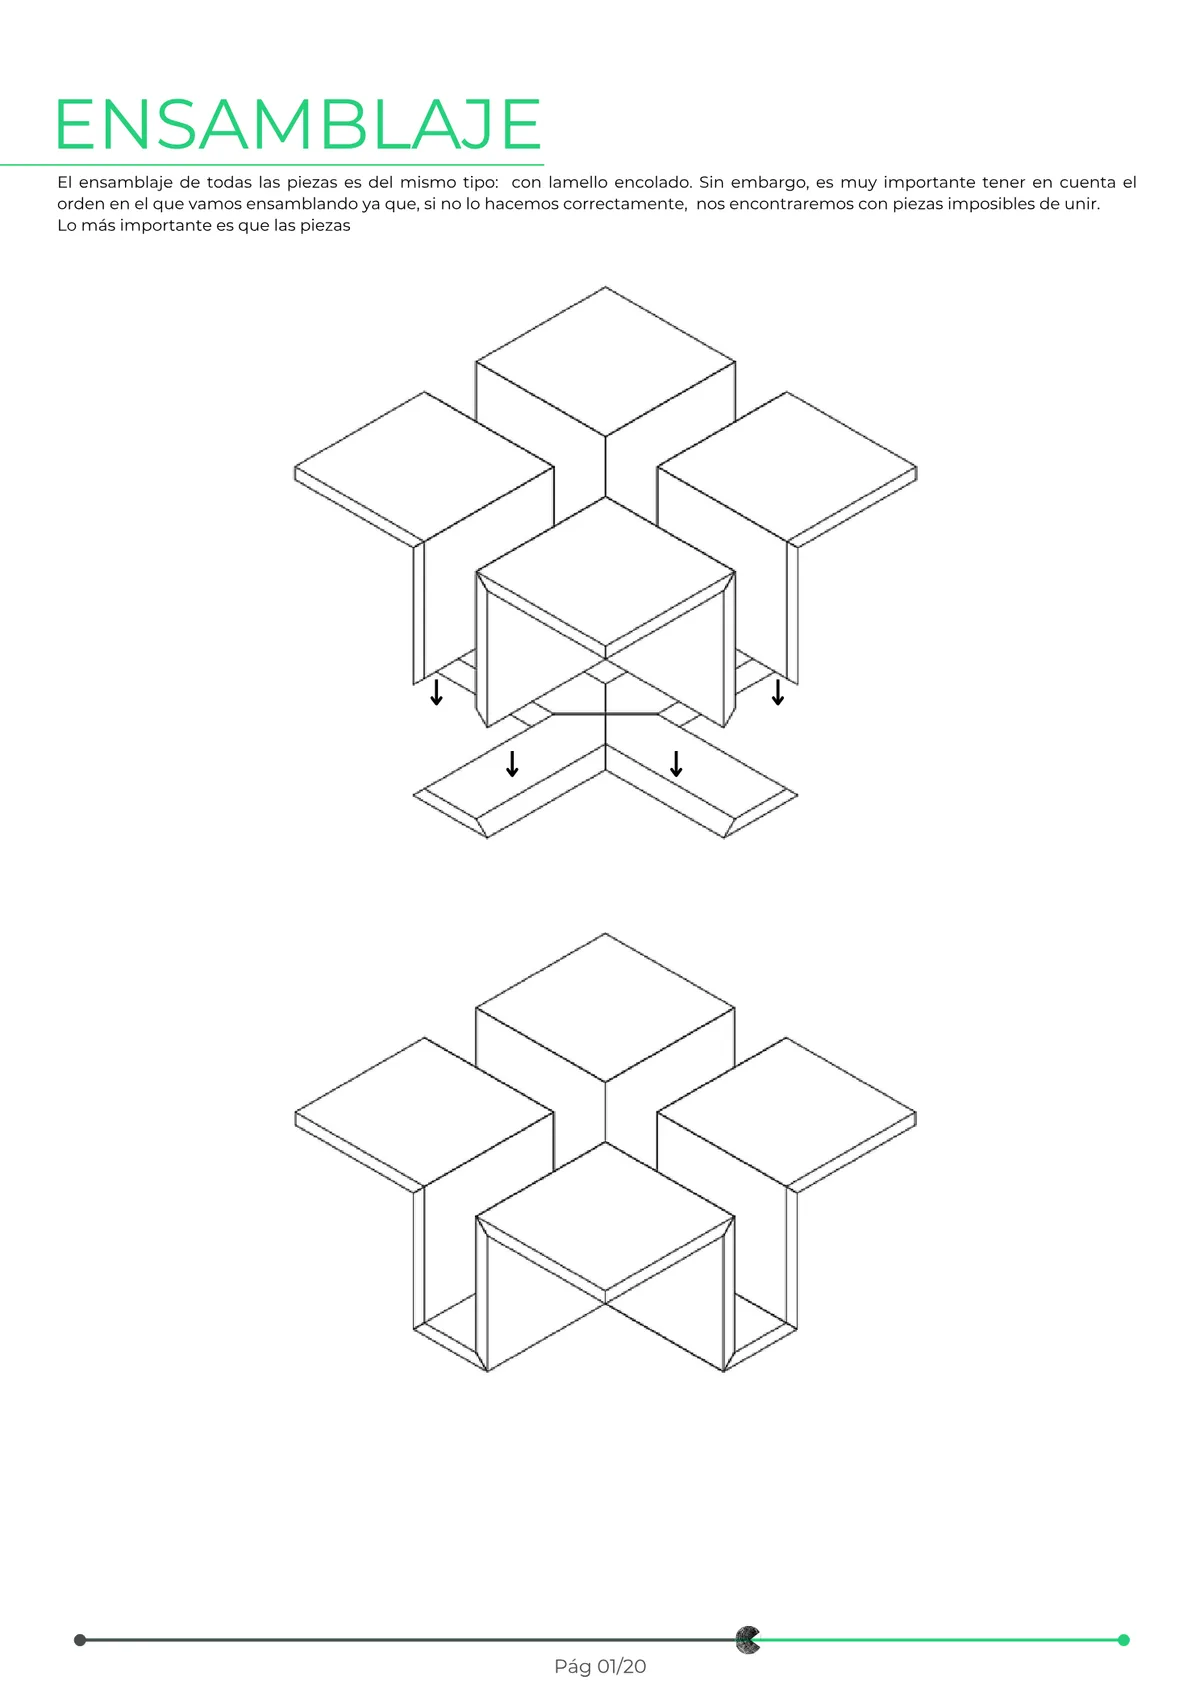
Six stages, from the big 2440 × 1220 mm board to the assembled table. The assembly order matters: skip it, and some pieces just won't fit any more.
You square up the board, mark the cuts and get your 12 squares of 350 × 350 mm — straight cuts, with tape underneath so the veneer doesn't splinter.
You tilt the blade to 45° and give each piece its mitres, watching the orientation so all the table's grain runs in the same direction.
The visible edges are re-veneered with 0.7 mm pre-glued walnut veneer: iron it on, trim the excess by hand and finish off with a fine file and sandpaper. The veneer is treated like gold: a scratch cannot be fixed.
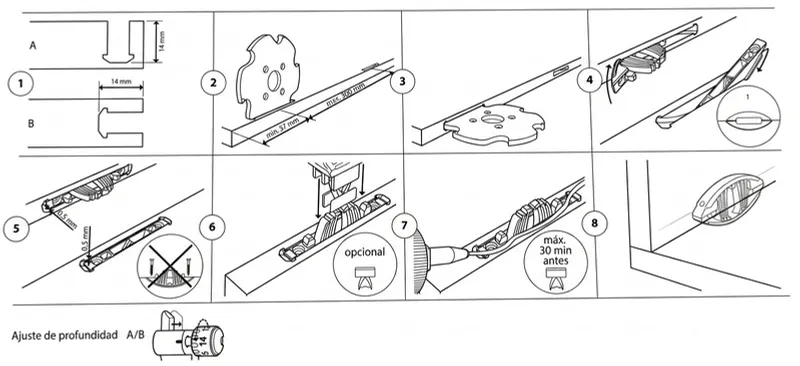
With the Lamello router you cut the slots for the connectors: two biscuits per edge, 80 slots in total, all laid out accurately and square. They snap in under pressure and let you glue up without clamps.
First the cross of the base, then each complete corner and finally the four corners onto the cross. The order matters, and the guide marks it out piece by piece.
With the table assembled and sanded, a generous coat of oil: spread with a spatula, let it work for a few minutes and wipe off with the grain. A natural feel and protected walnut.
What you'll learn.
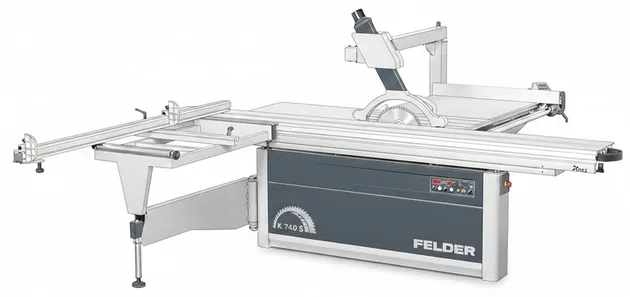
Mastering the sliding table saw
Squaring up and breaking down a big board, choosing the right blade and cutting accurate 45° mitres while controlling grain direction.
Veneering like a pro
Re-veneering edges with 0.7 mm walnut veneer using the iron, and finishing them with file and sandpaper until they look solid.
Lamello joints
Cutting slots for and fitting Tenso P connectors: invisible joints that glue up under pressure, with no clamps or presses.
The result.
Before you even ask.
Do I need any previous experience?
No. It's a basic-difficulty project (level 1) and the guide walks you through step by step. No machine is used without first being taught its safe cutting technique, and the technician is in the workshop for any questions.
Is it safe to use the sliding table saw and the Lamello?
Yes, following the workshop's rules: safety guard, push sticks, the piece well secured and mandatory PPE. The guide itself marks the PPE for each step in red.
What if I get a cut wrong?
The guide always works with extra allowance: the squares are first cut at 380 mm and the mitres are trued up in a second cut. That margin exists precisely so you can correct.
Why veneered MDF and not solid wood?
Because a cube table with perfect mitres needs a stable board that won't move. The veneer is real walnut, and you'll re-veneer the visible edges yourself.
How long will it take me?
Work at your own pace within the included workshop-access period: you work at your own pace, in workshop sessions, from raw board to the oiled finish.
What does the price include?
The guide, the materials (board, veneer, connectors, glue and oil), use of machines and tools, the PPE and your workshop time with the technician's support.
If you need any adjustments to take part comfortably, let us know when you sign up and we'll have it ready.
Llévate solo la guía, en PDF.
La misma guía paso a paso que seguimos en el taller para construir ««Tetra» Coffee Table»: planos acotados, despiece, orden de montaje y los trucos de ebanista. Por 15 €, tuya para siempre — bueno, el enlace de descarga dura 30 días, así que no lo dejes criar polvo.
Start whenever you like. The clock doesn't tick until your first day.
Buy "«Tetra» Coffee Table" today and come to the workshop when you genuinely can: your access time starts the day of your first QR check-in, not the day you pay. You build with our machines, our wood, and the team close by to lend a hand.
- The wood and all the project materials
- The complete guide in PDF, yours from minute one
- Workshop access: 1 full month or 2 months of half-days — you choose, same price
- The workshop team close by whenever you need them
Interested in this project?
Leave us your details and we'll tell you how to get started: pace, places and everything included.
No noise, unsubscribe in one click. By subscribing you accept the privacy policy.