
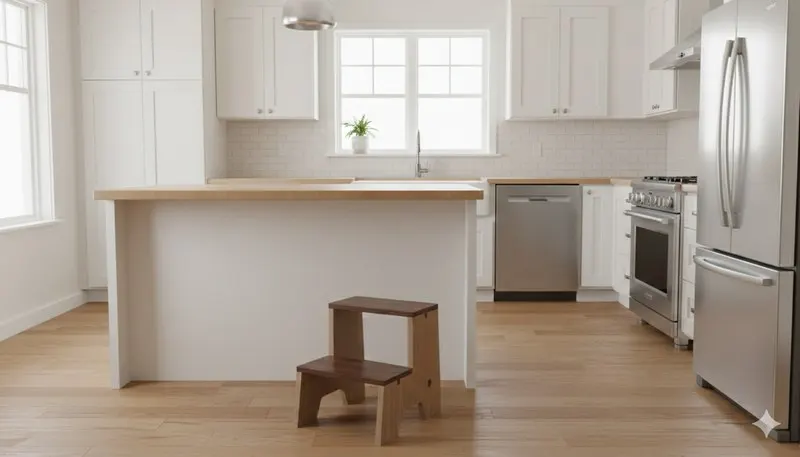
«Alza» Step Stool
Two woods, invisible joints and not a single screw: you leave the workshop with a step stool you'll use every single day.
Alza: two steps, two woods, zero screws.
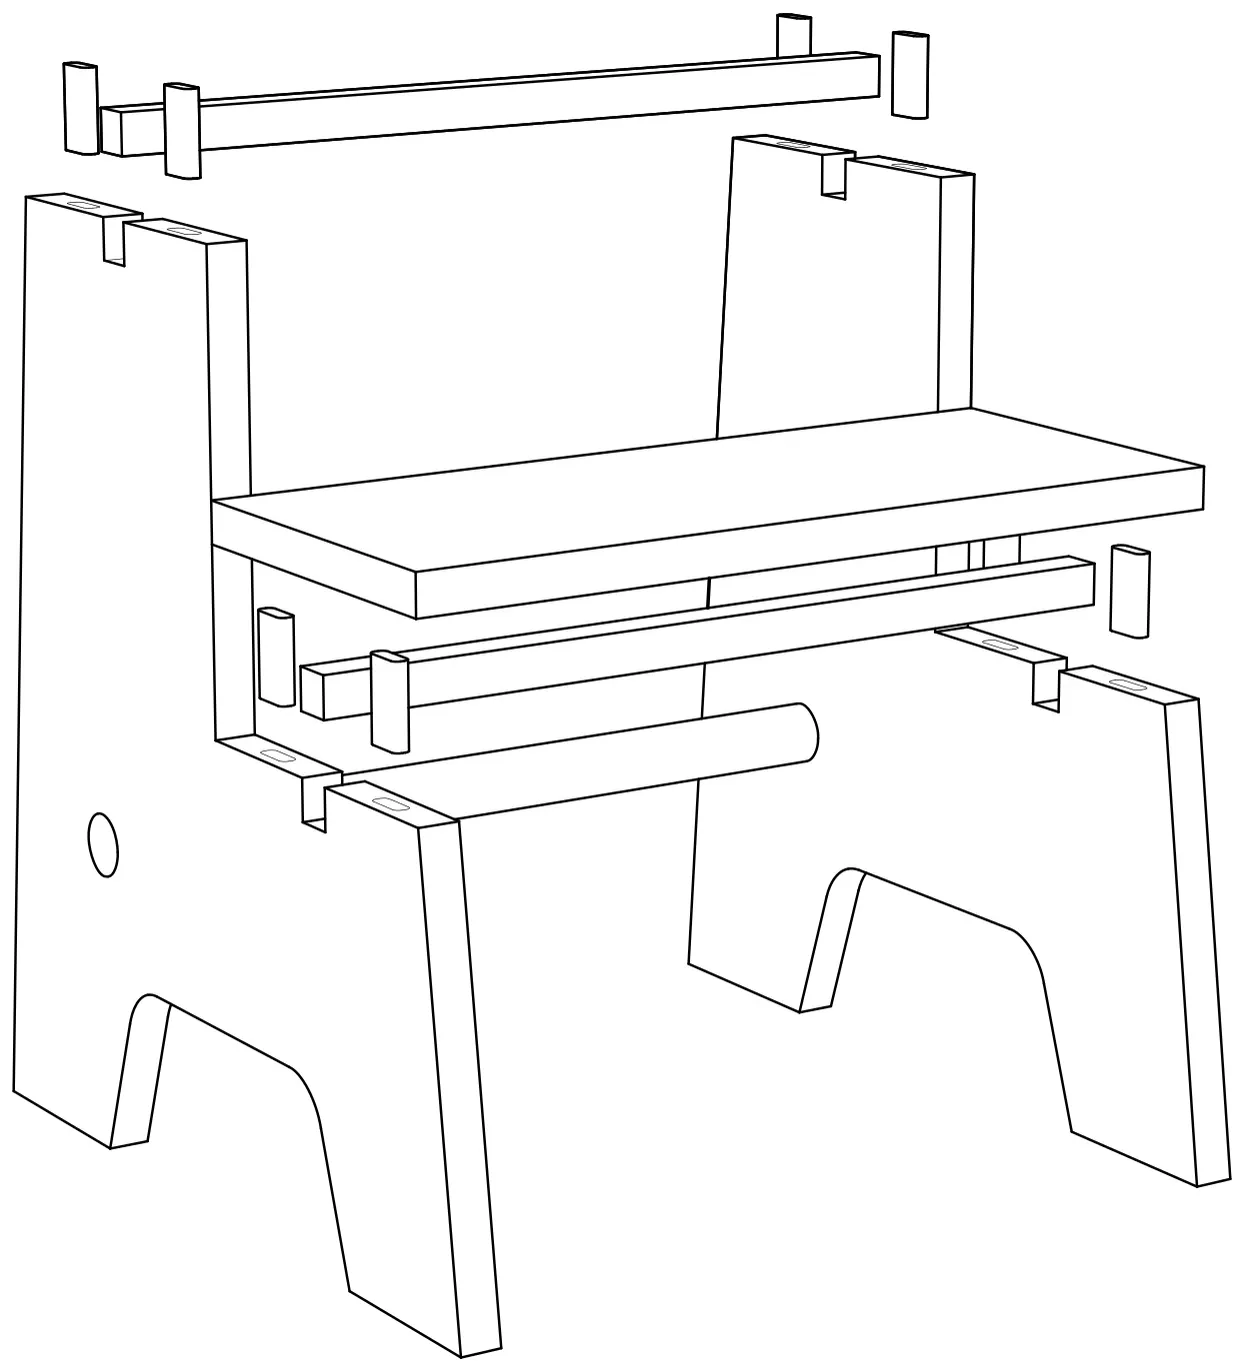
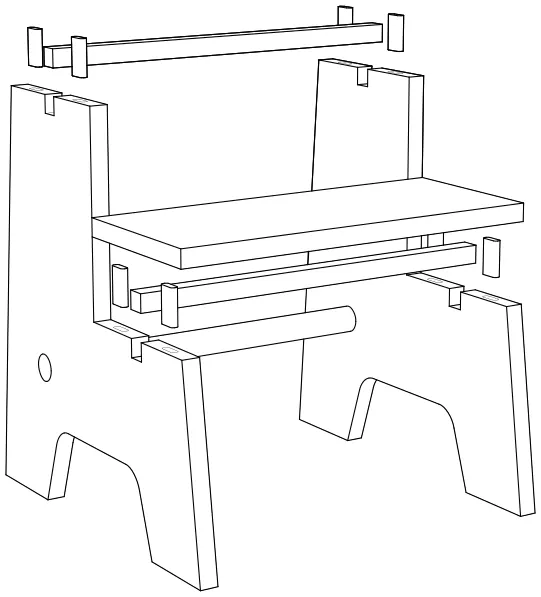
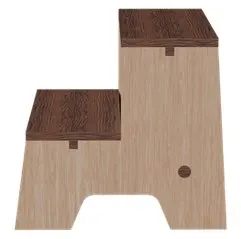
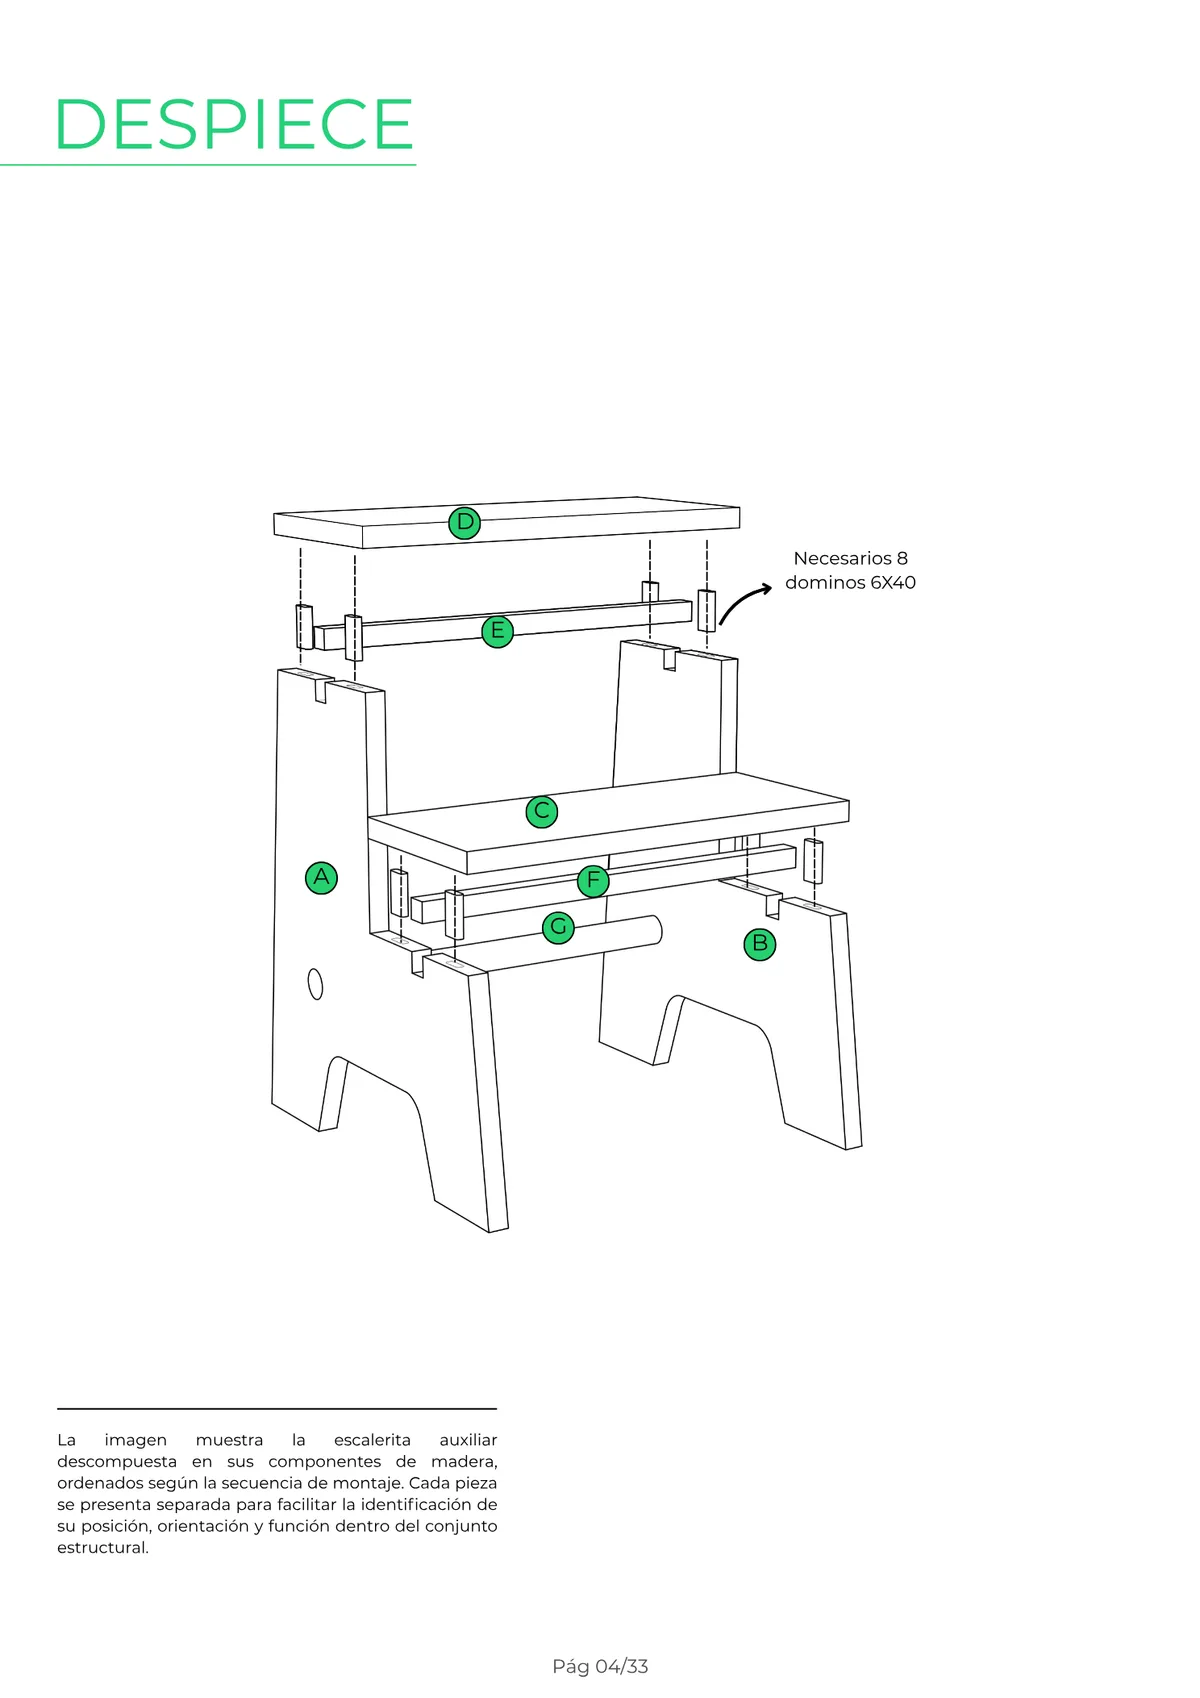
Alza is a little two-step stool in solid wood: light beech sides, dark elondo steps and a cylindrical stretcher joining the two sides. No visible screws — everything is joined with Domino tenons and glue.
How you'll build it.
Seven guided stages, from rough board to a stool that stands on its own. Always with extra margin and a dry fit before any glue.
You cut strips from a beech board, glue them up to get the width and clamp them. Then run them over the surface planer and through the thicknesser until the two pieces are flat, parallel and identical twins.
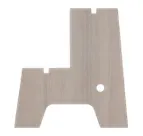
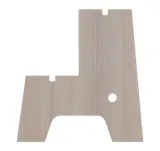
With the two panels taped together so they come out identical, you cut the silhouette with margin to spare. The step housings are done by hand: marking knife, handsaw and chisel.
The arch in the base is purely aesthetic, but it transforms the look of the piece. You cut it out with a jigsaw and pare down to the final line with a chisel.
You cut the cylinder to size and drill its housings with a Forstner bit on the pillar drill. Dry fit: it should slide in without slack and without forcing.
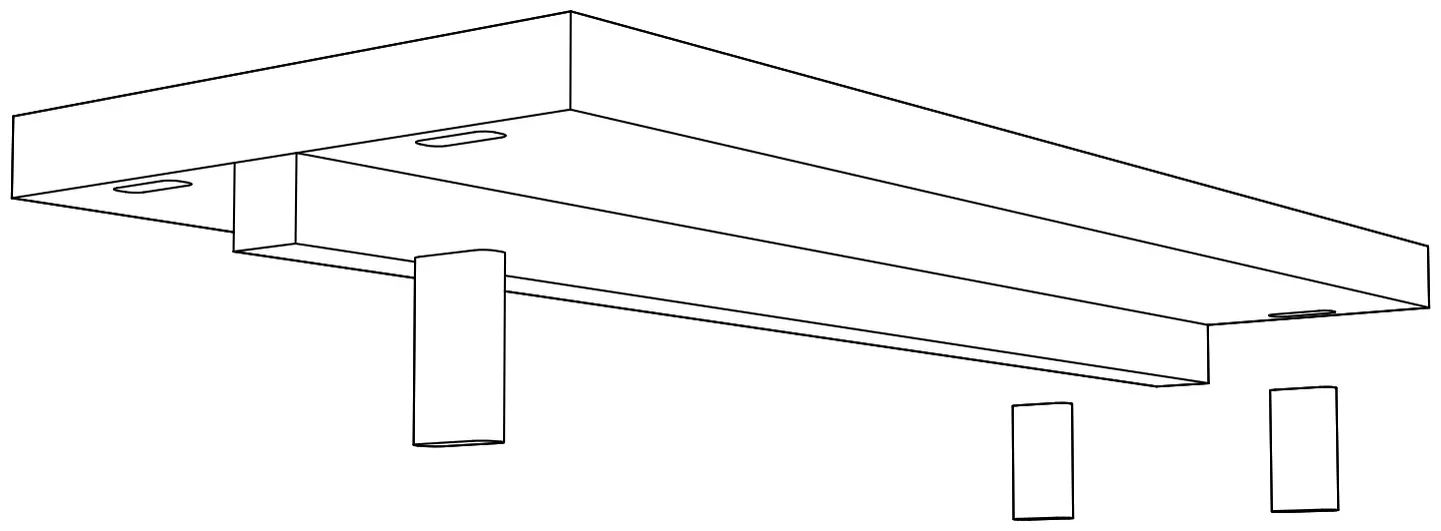
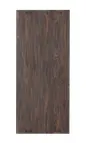
The step is where you'll be standing: glue-up, jointing, thicknessing and cutting to size on the panel saw. The connecting strip is glued to the step and together they form a single structural piece.
You offer the pieces up in their real position, mark the references and rout the mortises with the Domino machine. 6×40 tenons, dry fit and fine adjustment before a single drop of glue.
Full dry assembly, cylinder in place, glue in the mortises and close it all up: clamps, square check and wipe off the excess. Once cured, your Alza stands on its own.
What you'll learn.
Preparing real timber
Marking out, cutting with margin, jointing and thicknessing, and gluing up boards into wide, stable panels.
Hand work
Housings and fitting with handsaw, marking knife and chisel, cutting out with the jigsaw and clean drilling with a Forstner bit.
Invisible joints
The Domino system: routing, dry fitting, gluing, clamping and checking the finished piece for square.
The result.
Before you even ask.
Do I need previous experience?
No. Alza is basic difficulty, level 1 of 5: the project designed for starting out. The guide takes you step by step, no machine is used without its safety training first, and the workshop technician is on hand if you get stuck.
Is it safe to work with the machines?
Every machine has its own rules of use and prior training, and the guide tells you at each step what protection you need: goggles, safety footwear, hearing protection or an FFP2 mask. PPE is included.
What if I get a cut wrong?
The project is designed to be forgiving: you always work with extra margin and do dry fits before gluing anything. Small mistakes get corrected as part of the process itself.
What do I take home?
Your finished Alza stool: solid beech and elondo, invisible Domino joints and a varnished finish. 450 × 400 × 490 mm and around 5.9 kg of furniture made by you.
How much time do I need?
Work at your own pace within the included workshop-access period: you work at your own pace, in sessions, and the wood waits for you between visits.
What does the price include?
Everything you need to build it: the guide, the wood and materials, use of tools and machinery, PPE and your workshop time.
If you need any adjustments to take part comfortably, tell us when you sign up and we'll have it ready.
Llévate solo la guía, en PDF.
La misma guía paso a paso que seguimos en el taller para construir ««Alza» Step Stool»: planos acotados, despiece, orden de montaje y los trucos de ebanista. Por 15 €, tuya para siempre — bueno, el enlace de descarga dura 30 días, así que no lo dejes criar polvo.
Start whenever you like. The clock doesn't tick until your first day.
Buy "«Alza» Step Stool" today and come to the workshop when you genuinely can: your access time starts the day of your first QR check-in, not the day you pay. You build with our machines, our wood, and the team close by to lend a hand.
- The wood and all the project materials
- The complete guide in PDF, yours from minute one
- Workshop access: 1 full month or 2 months of half-days — you choose, same price
- The workshop team close by whenever you need them
Interested in this project?
Leave us your details and we'll tell you how to get started: pace, places and everything that's included.
No noise, unsubscribe in one click. By subscribing you accept the privacy policy.